

Building Stairs For Your Senior Cat
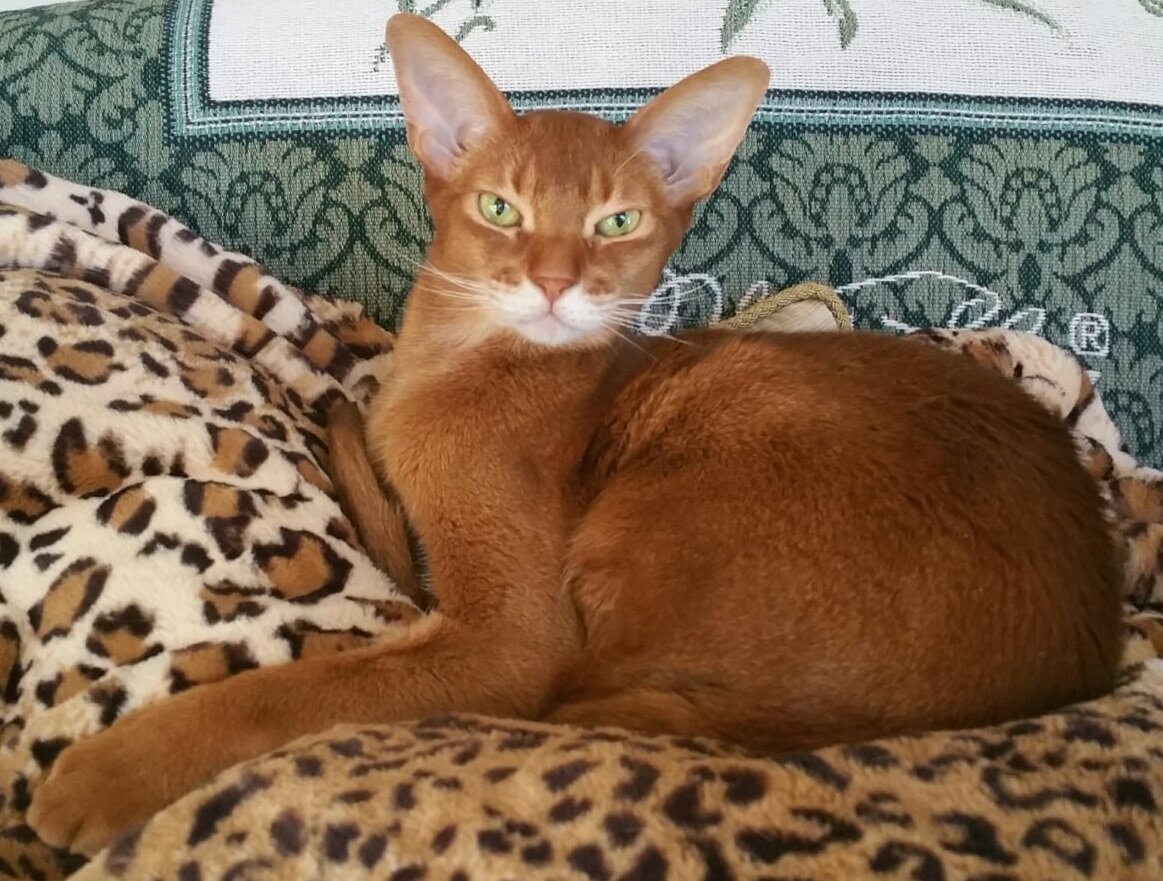
I realized a number of months ago that our senior kitty, Yedeed (a Red Abyssinian) was beginning to have difficulty getting up on our bed by himself. I began searching for pet stairways, and while some were very inexpensive, they were also fairly unattractive. So, to the drawing board, I went! I searched in Chewy, Etsy, Amazon, Woodworkers Journal, and virtually anything else to get ideas about what the size should be and the methods of construction. I ended up building something so very complicated, there was NO WAY I would be able to break it down as a DIY for Savannaghans! (Photo included of the Beast Stairs). The good thing about my first staircase is that they are big enough that Ascher (F2, 30#) uses them daily.

In rethinking my plans, I decided to construct a very simple staircase that would be fairly easy for someone with just a few shop tools available. I redesigned the plans to include only three 6” steps, and kept the width at 16”, resulting in the final dimensions being 18” tall x 18” deep x 16” wide. These dimensions are adjustable to your pet’s needs (and the height of the object you want them to access!)
Some plans I found complicated things with adding extra supports on which the treads would rest, however, I thought that was excessive for a pet less than 30 pounds might use. Other options also included a “bed” in the back or storage drawers for toys or treats within the stairs themselves. (I tried both of those options with the Beast, and it really came out well, but far, far too much “stuff” going on.)
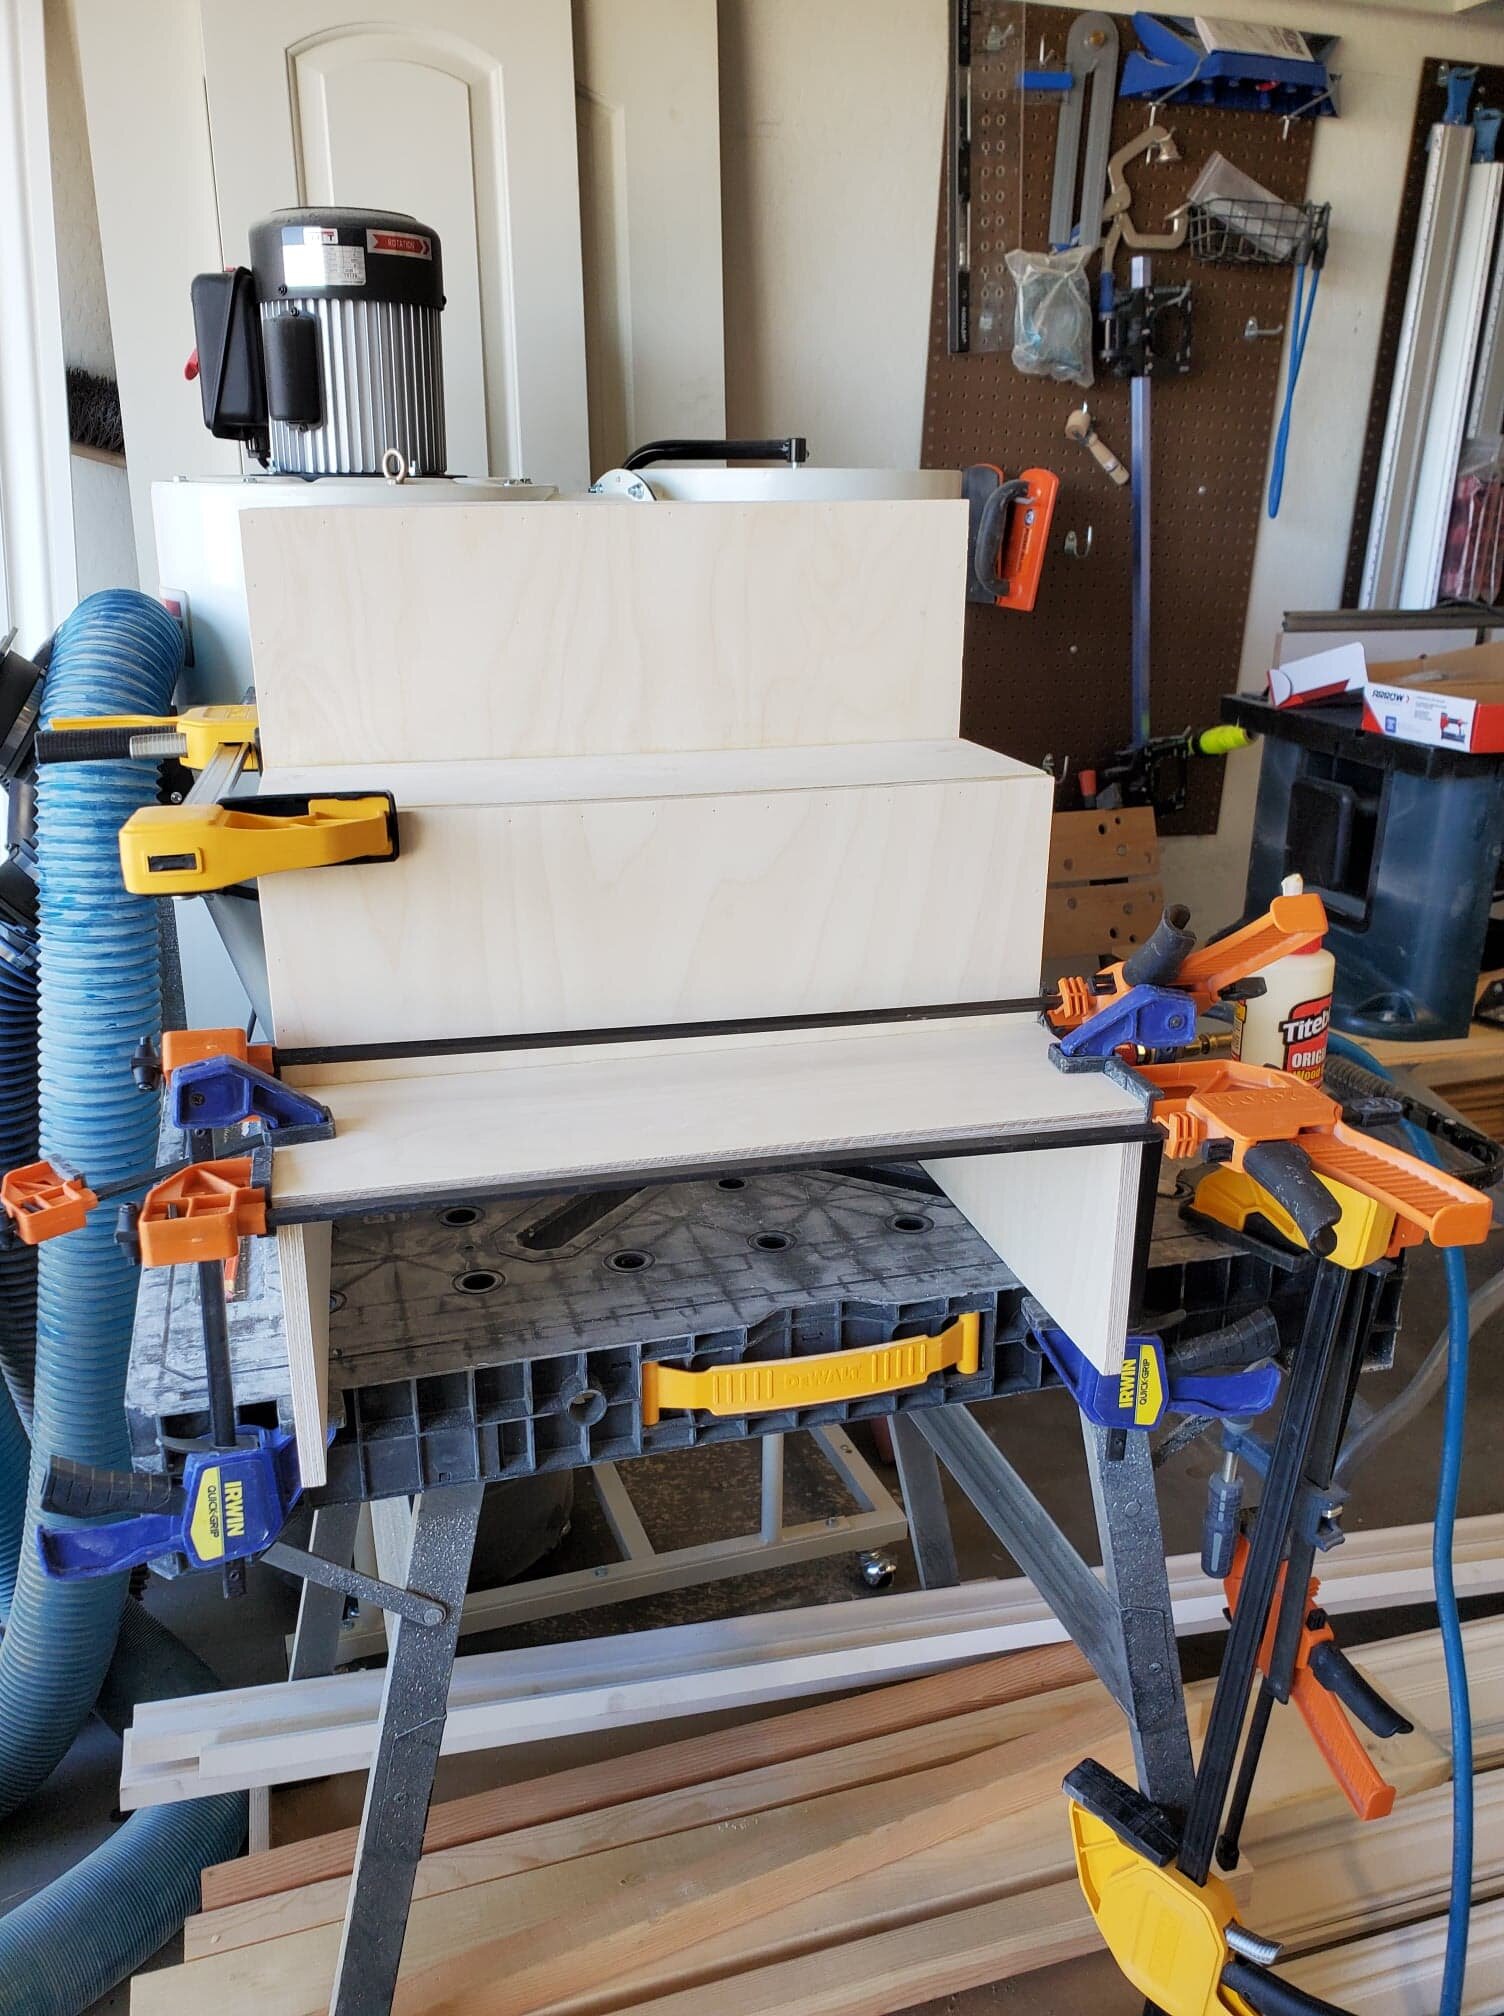
I had some ½” Baltic Birch that wasn’t of a suitable size for any of my upcoming projects, so I just drew 6” treads and risers on two pieces that would become the sides of the box. I used a bandsaw, but a jigsaw would work just as well, and carefully cut on my pattern lines. The treads and risers were taken from other scraps of a suitable size.
Once I had cut all of the pieces to size (see the cut list below), sanding all (6!) sides were done, including (especially) the edges, as the sides of the treads and risers would be exposed and Baltic Birch actually has some nice “grain” going on in the exposed ends; making them smooth and a little rounded over adds some interest to the stairs, especially if you don’t stain or paint, and only apply a sealing top coat (which is what I did for these). Then I began gluing with the bottom riser. You never have enough clamps, but I not only used clamps as I progressed, but I also used an air-pinner to secure the treads to the sides – call it the “belt and suspenders approach.” The second piece I glued/pinned was the bottom tread – it should cover the top edge of the riser you just installed, and butt up to the 90-degree corner for the second riser. I suggest letting the glue on these first two pieces cure before proceeding to the middle tread and riser. Once the glue has set, simply repeat the process for the middle and then upper steps, using the treads to cover the top edges of the risers, and tightly butting the back of the treads up against the sides. The top tread should be flush in the back with the rear of the sides.
Lastly, I inserted two stringers, also of Baltic Birch, across the back – both at the very top and down at the bottom. These will provide some strength, as well as prevent things from being able to twist over time and use.
When all of the glue has dried, lightly sand to get any glue seepage off the edges. This is important if you plan on staining; painting, just gets the wood smooth; for these stairs, I sprayed two layers of topcoat, sanding the sides and the risers to smooth between coats. I did not sand the treads, because I wanted them to be almost “rough” so any pet using them would not slip. You can choose to add some sanded sealer to the top of the treads, or even scrap carpet, just to ensure a safe surface for your babies!
Equipment List:
Bandsaw or jigsaw
Circular saw
120 Grit Sandpaper or Orbital Sander with 120 Grit
Pinner
Wood Glue
Clamps (lots)
Stain/Paint/Topcoat/Sealer
Optional: Sanded sealer or carpet
Cut List:
Two pieces of ½” thick wood of your choice, at least 18” x 18”
Risers:
A - 6” x 16”
C/E – 5-1/2” x 16”
Treads:
B/D/F – 6-1/2” x 16”
Stringers:
2 x 2” wide x 15” long


In Memoriam ~ Yedeed, Beloved Friend 08/09/2006 – 04/15/2021
Subscribe (free) (by visiting the banner on our home page) and receive each quarterly issue to your inbox.
Share this article on your own social media platforms.
Leave a Comment below. (this is VERY helpful to our growth and Google recognition)
Follow on Instagram.
Follow on Twitter.
Follow on Pinterest.
Follow on Youtube.