

DIY Integrated Cat Bed End Table or Nightstand
This project was a real challenge to build, not because its premise was complicated, but because I wanted to try to create a quality piece of furniture and not "just" another cat bed. A few months before this build, our Publisher, Deb Roberts, sent a photo of a cute, elevated cat bed with the question "Next DIY?" and of course, I said "YES"!
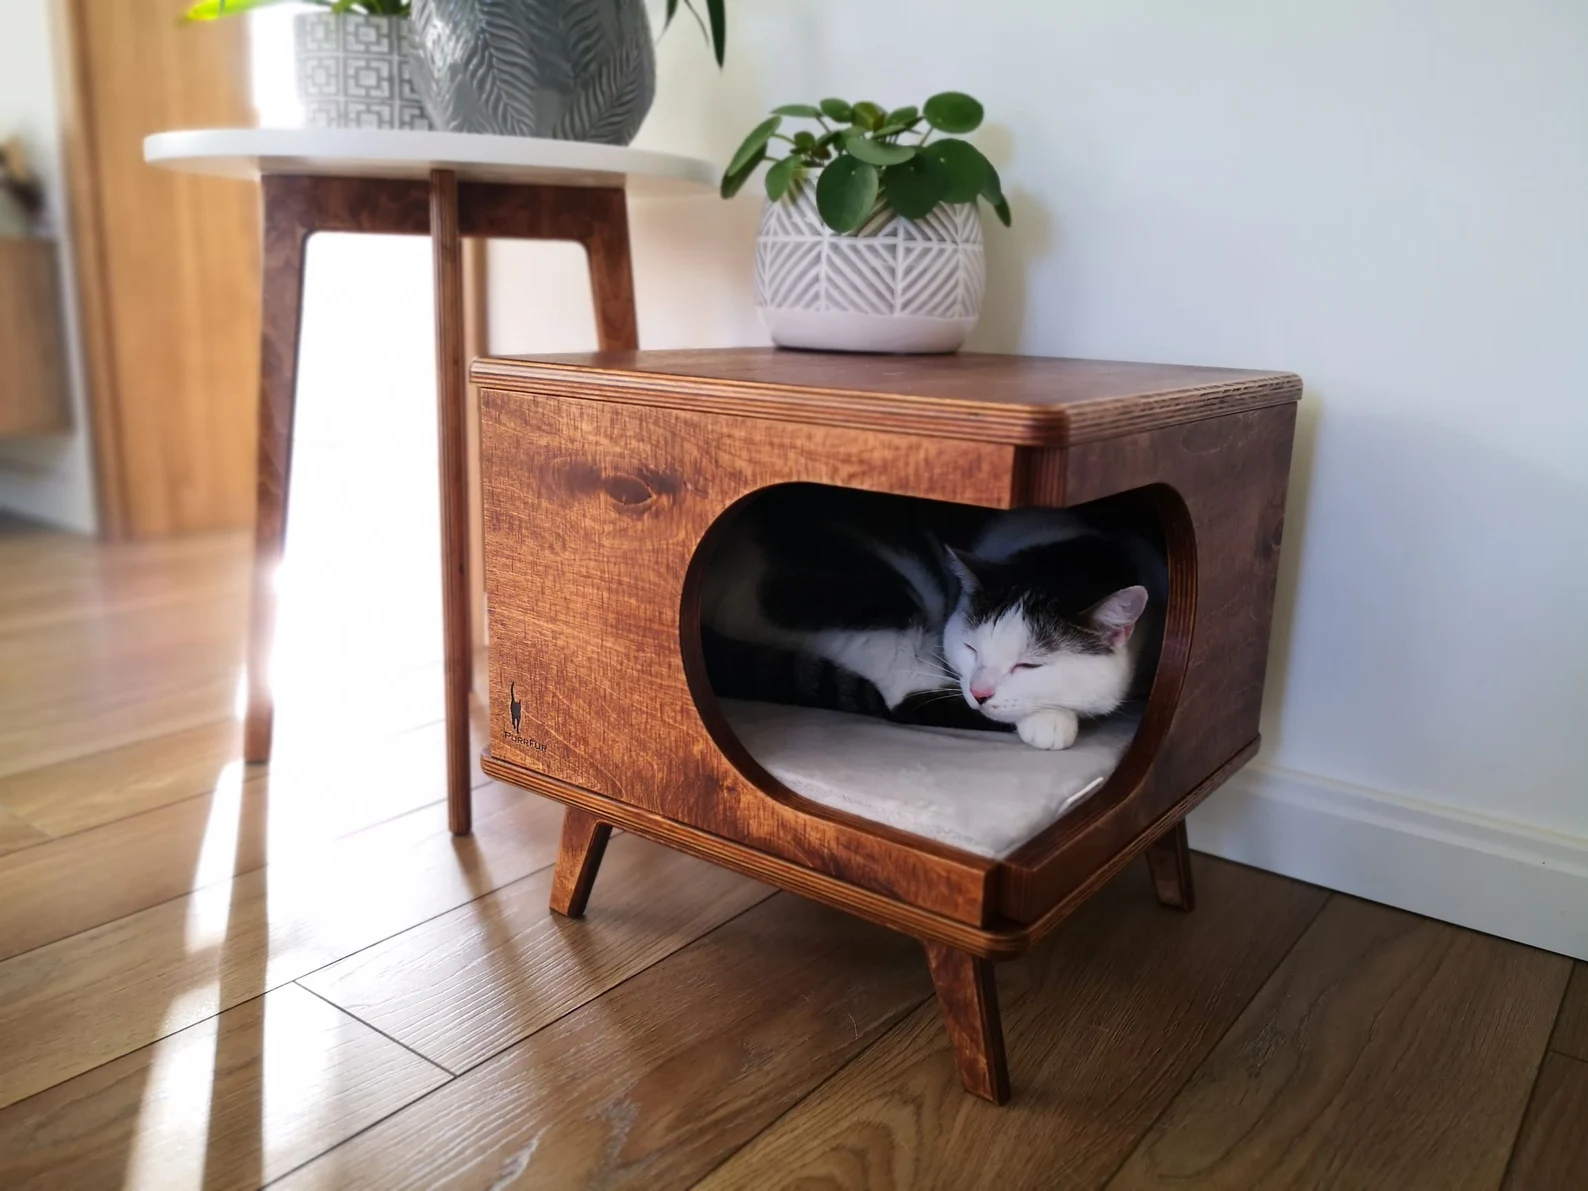
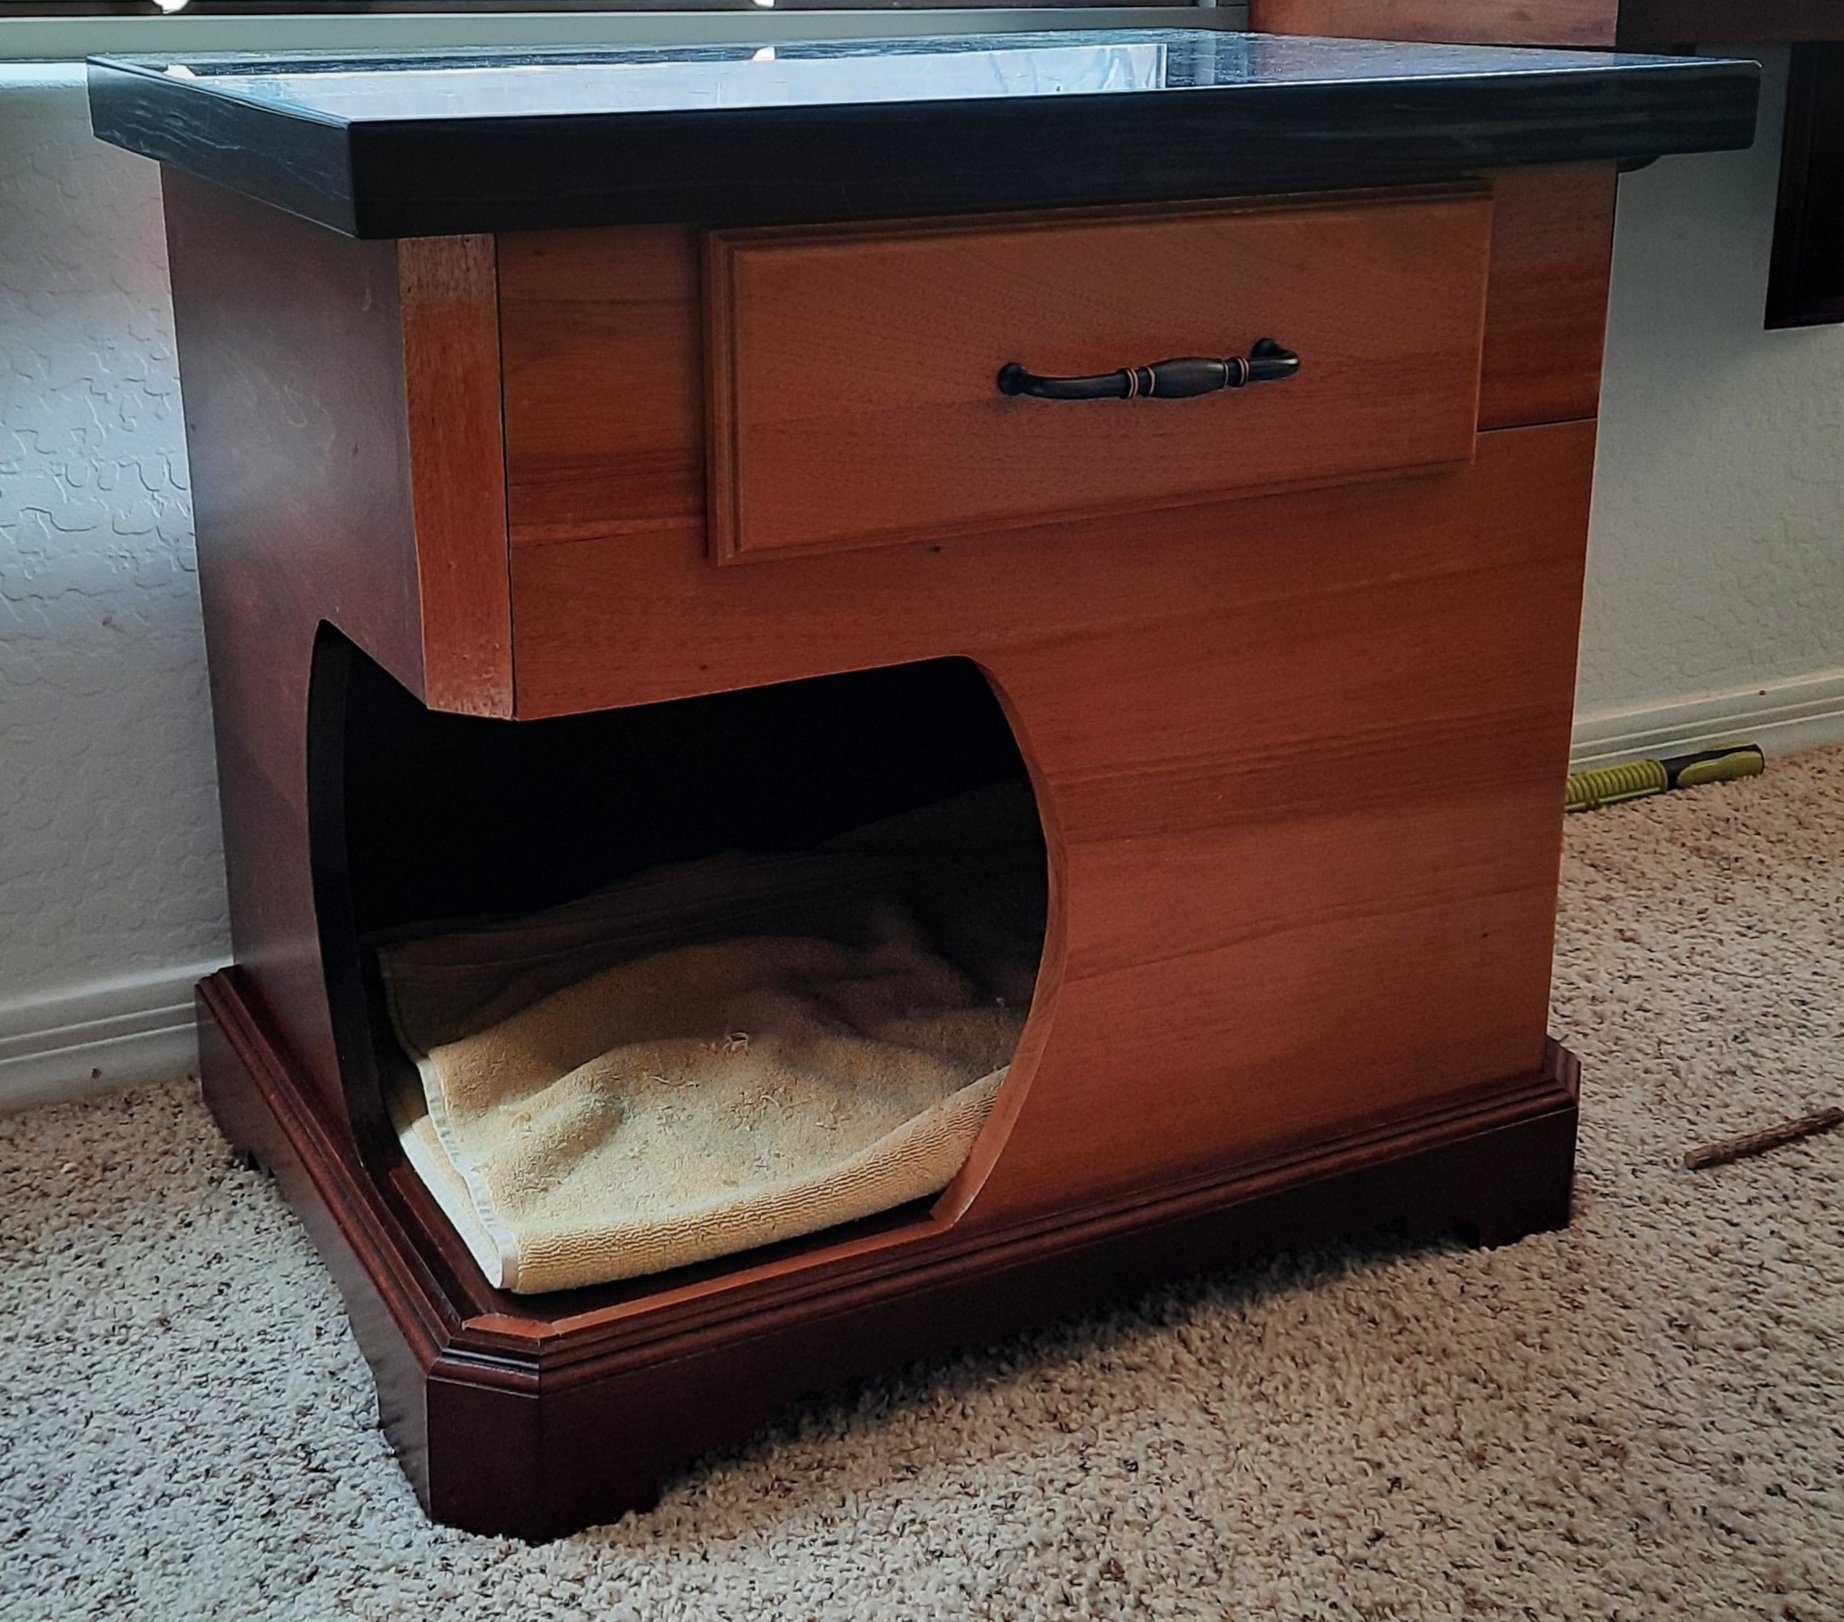
I took a close look at the idea. I developed a plan to build something that would work to fit our preferred décor style while also utilizing several pieces of nice wood I had stashed away for just such an occasion. I also wanted a drawer (for TREATS, of course!) and drew that into the plan. After building this, I realized that what I had done was probably not what other people would want, so I drew up more simplified plans to present to all our SAVANNAHGANS® readers. I'll make them available to you! However, if anyone wants me to e-mail copies of the more complicated plans, don't hesitate to contact me at LLROOT@COX.NET.
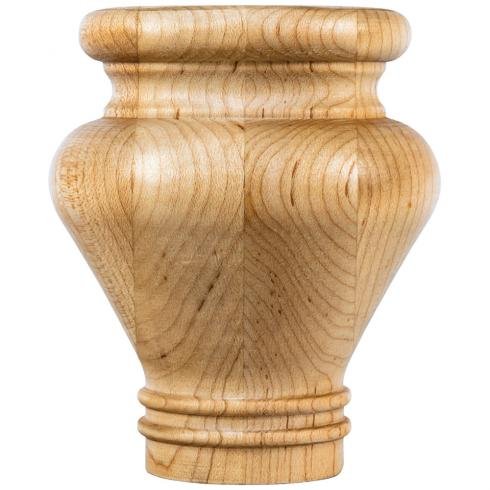
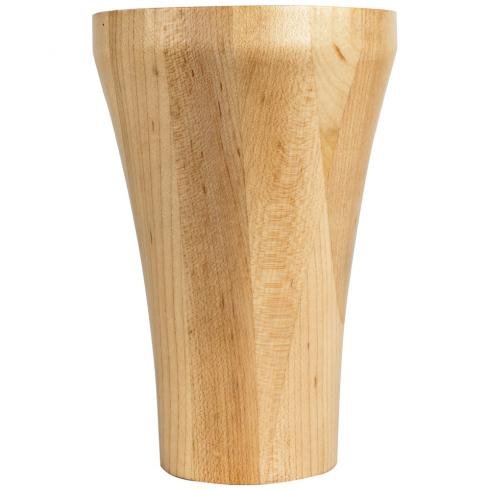
I wanted a specific width and depth (we had leftover Quartzite from our master bath remodel and didn't want to waste a foot!). I'm referencing dimensions based on a 24" wide by 18" deep cabinet in this DIY. The height is flexible; ensure the inside has enough room for your kitty to stand up and turn around (mine is 24" tall). "Bun" Legs can be purchased from various sources, such as a Woodworker's Supply or a molding supply, or you can order from Etsy. Straightforward conical legs are usually found at your local building supply and cut to your preferred height.
As with other projects, the wood you decide to use hinges on whether you want to paint or stain. The original design Deb sent to me appears built from either ¾" Baltic Birch or ¾" Birch plywood, given the edge grain shows and, if stained, provides a nice point of interest. I'm going to "build" this from ¾" Baltic Birch.
Materials List
¾" Baltic Birch in the following dimensions:
Top and Bottom – 24" x 18"
Two sides – 18" wide x 18" tall (again, height is your preference)
Front and Back – 24" wide x 18" tall (same as sides)
Four purchased legs in your preferred style
Cabinet Screws, Pocket Hole Screws
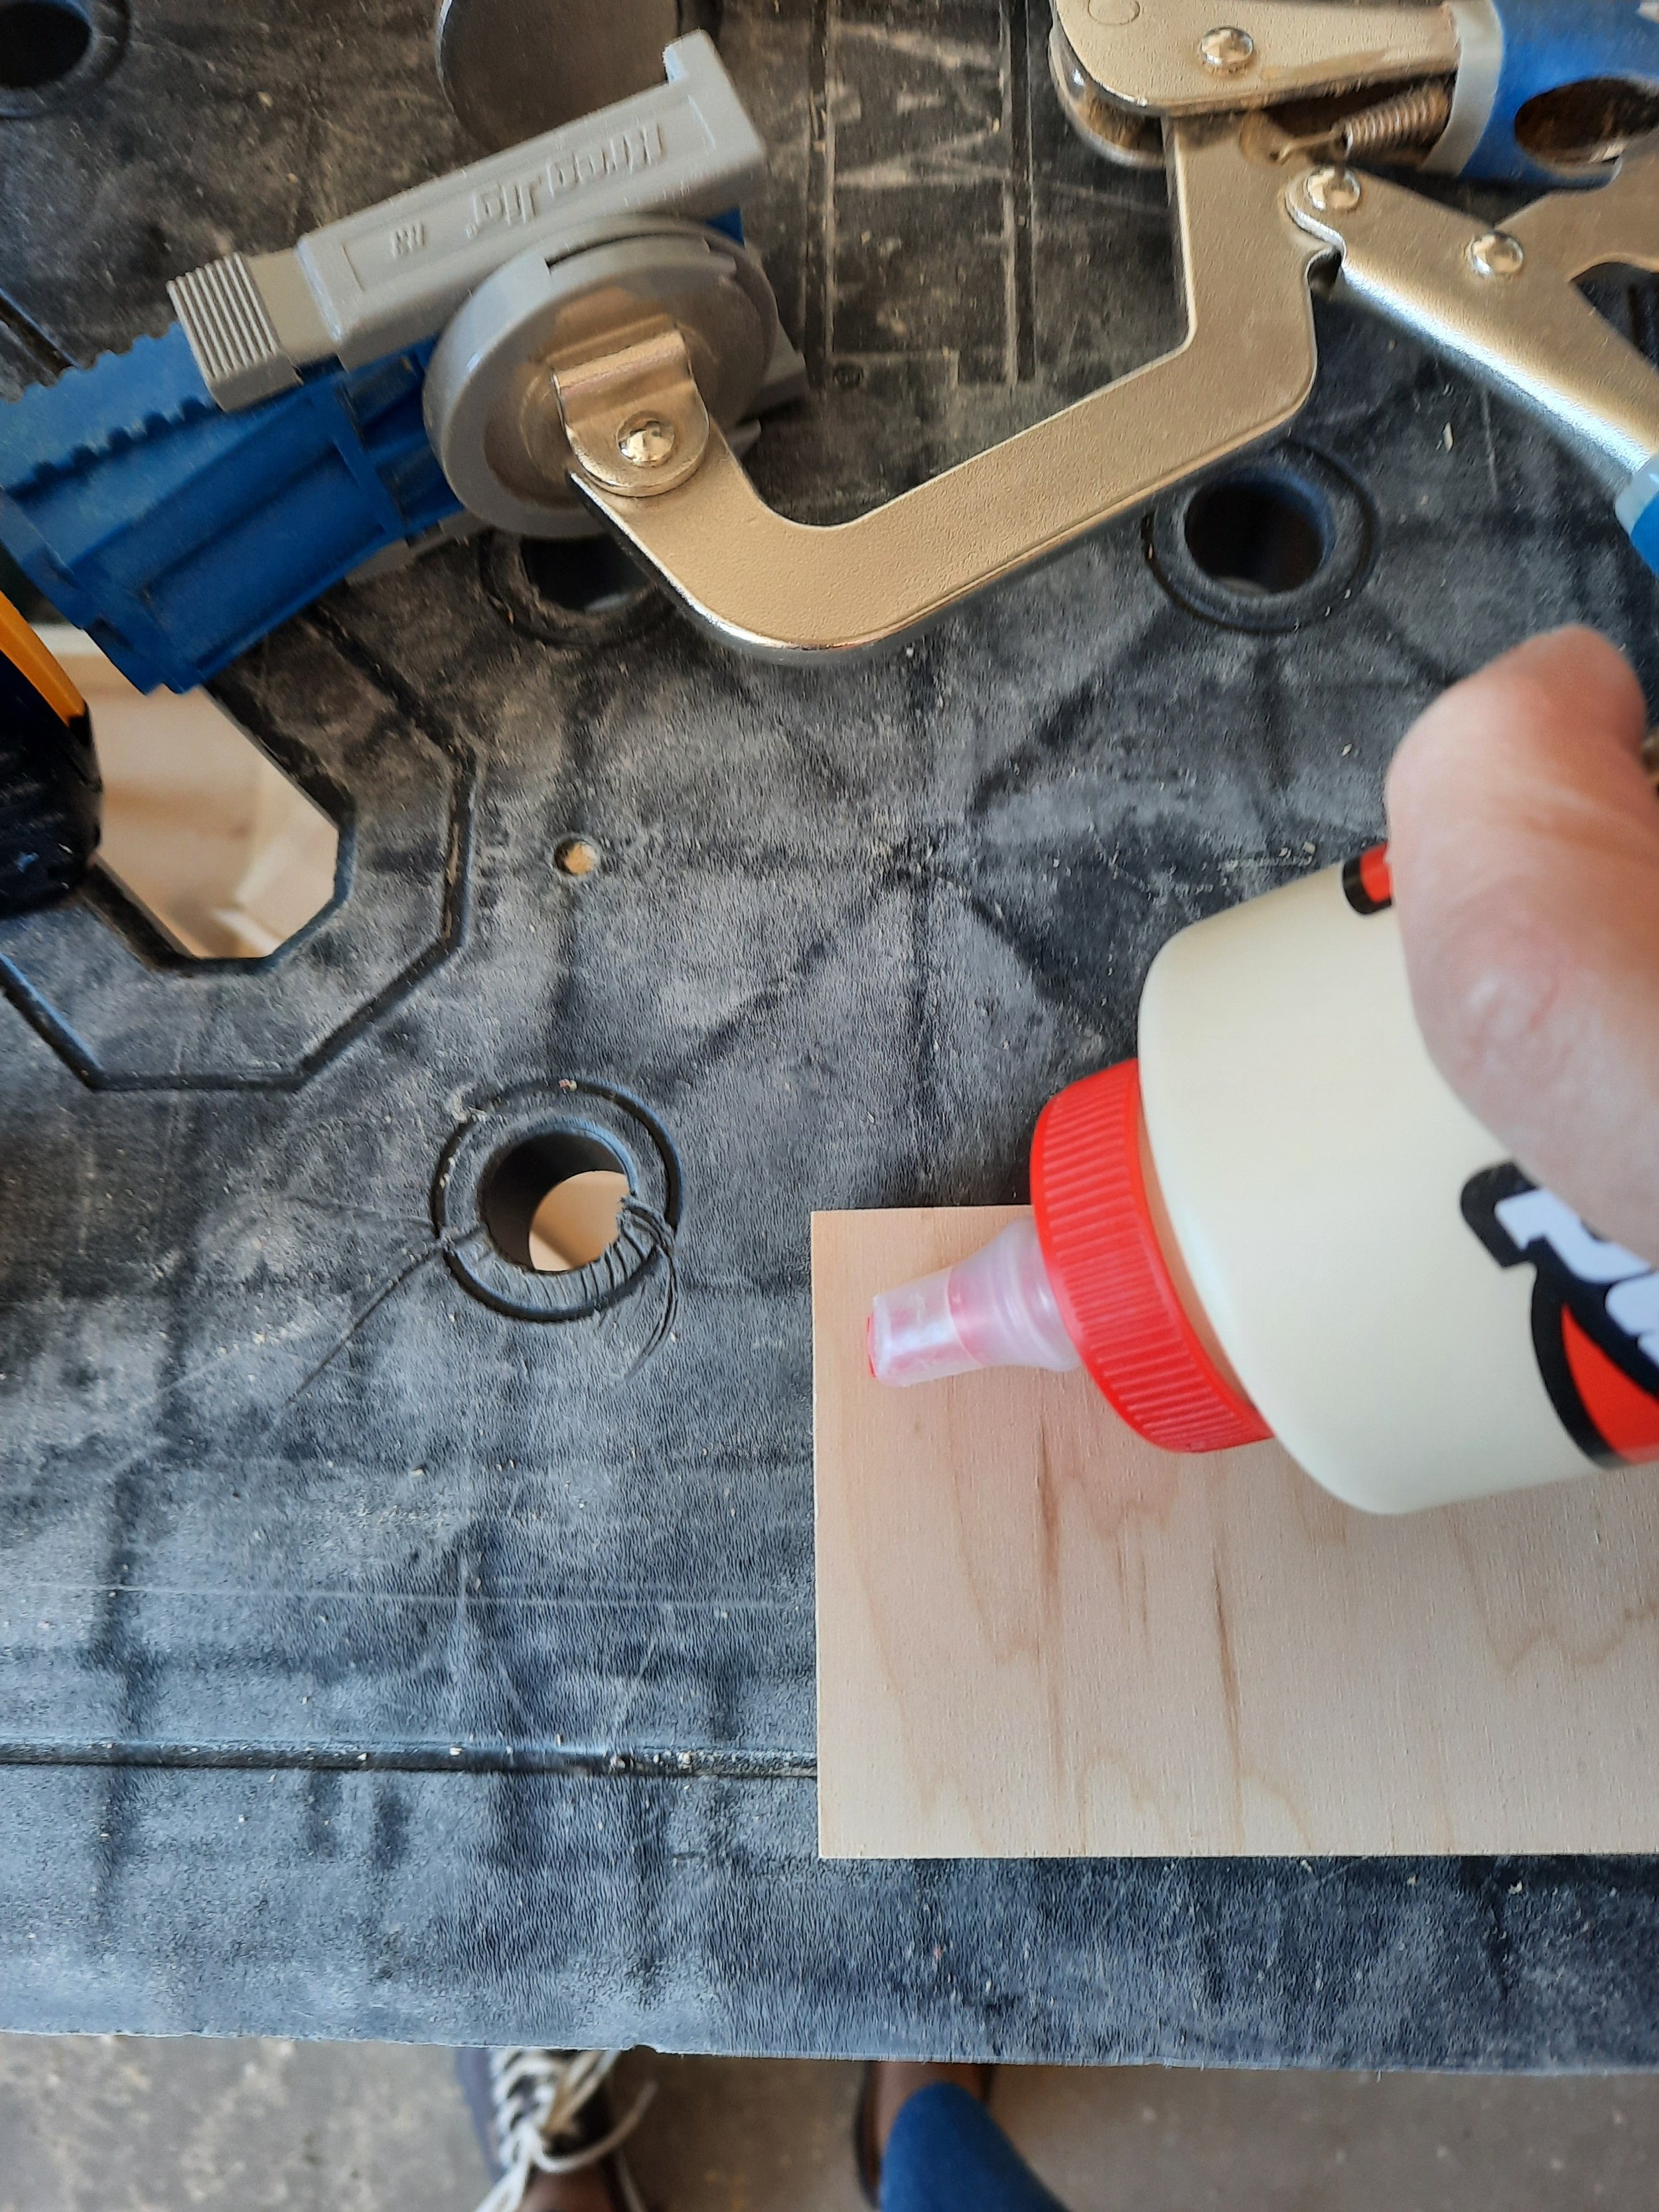
Wood glue
Stain or Paint
Equipment List
Circular or Table Saw
Jigsaw or Band Saw
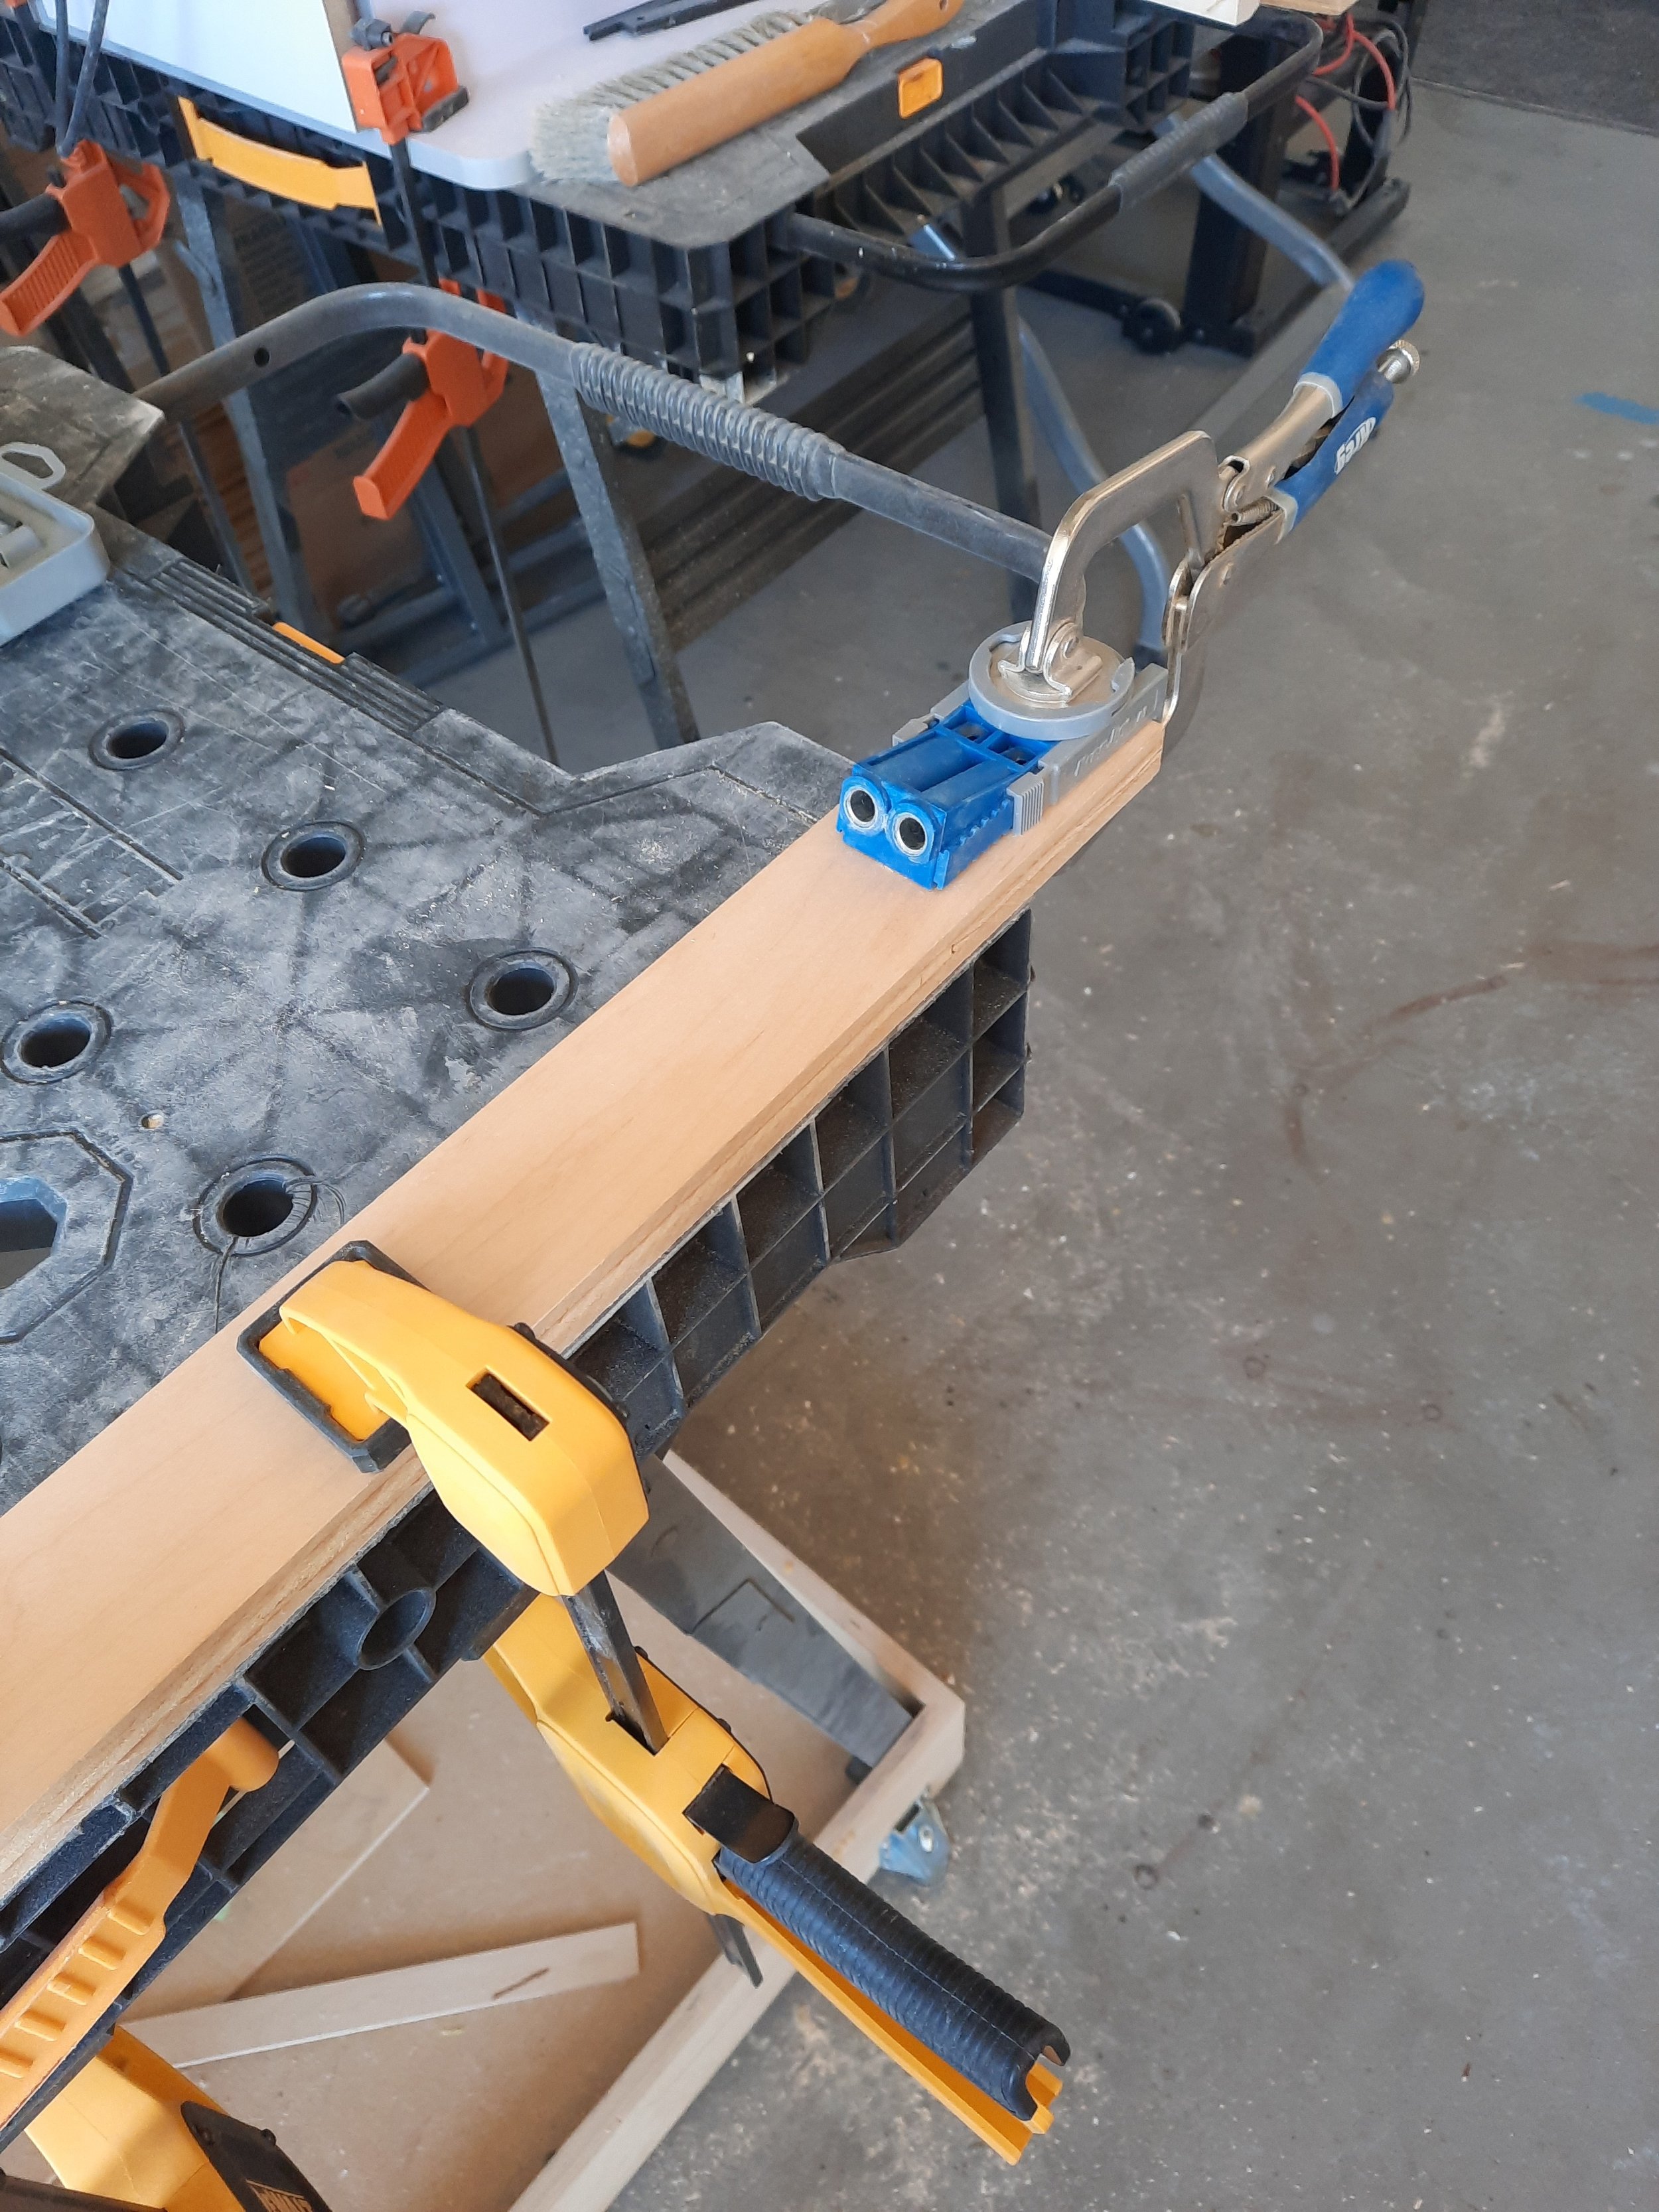
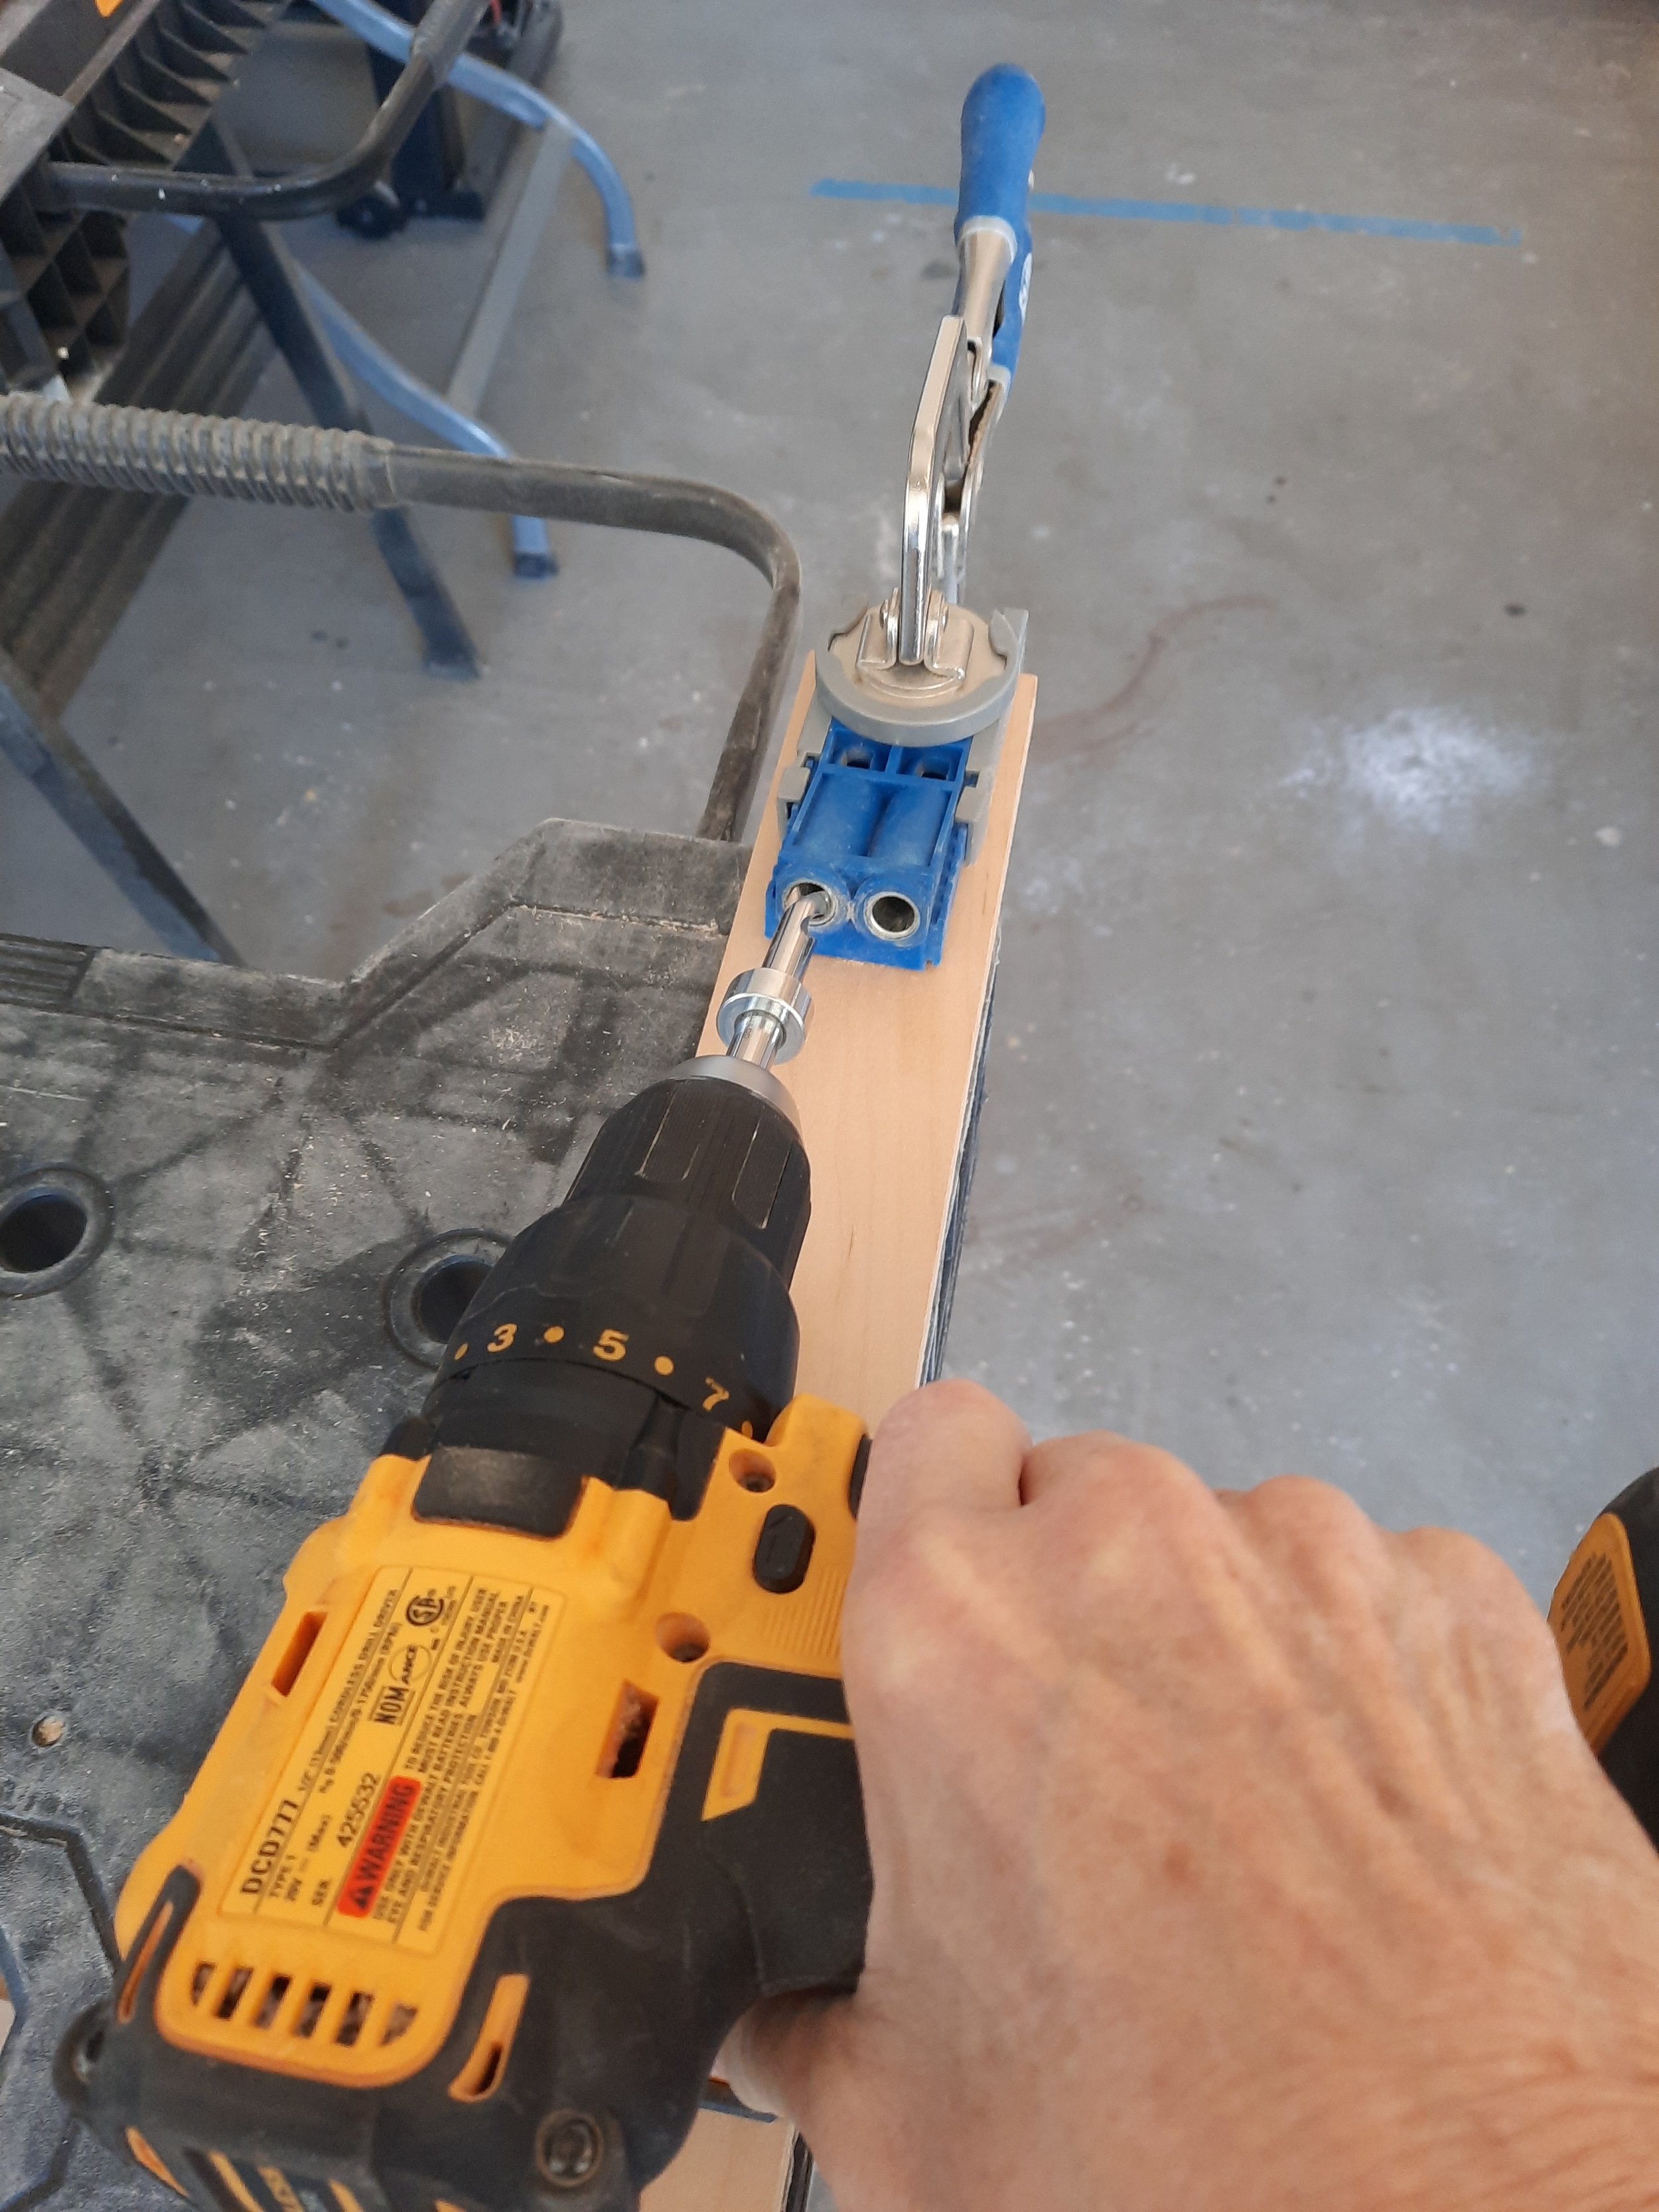
23 gauge Pinner / Kreg Pocket Hole Jig
Orbital Sander #150 grit/Sand Paper-#120 grit
Power Hand Drill/Screwdriver
24" Clamps
Cutting and Sanding
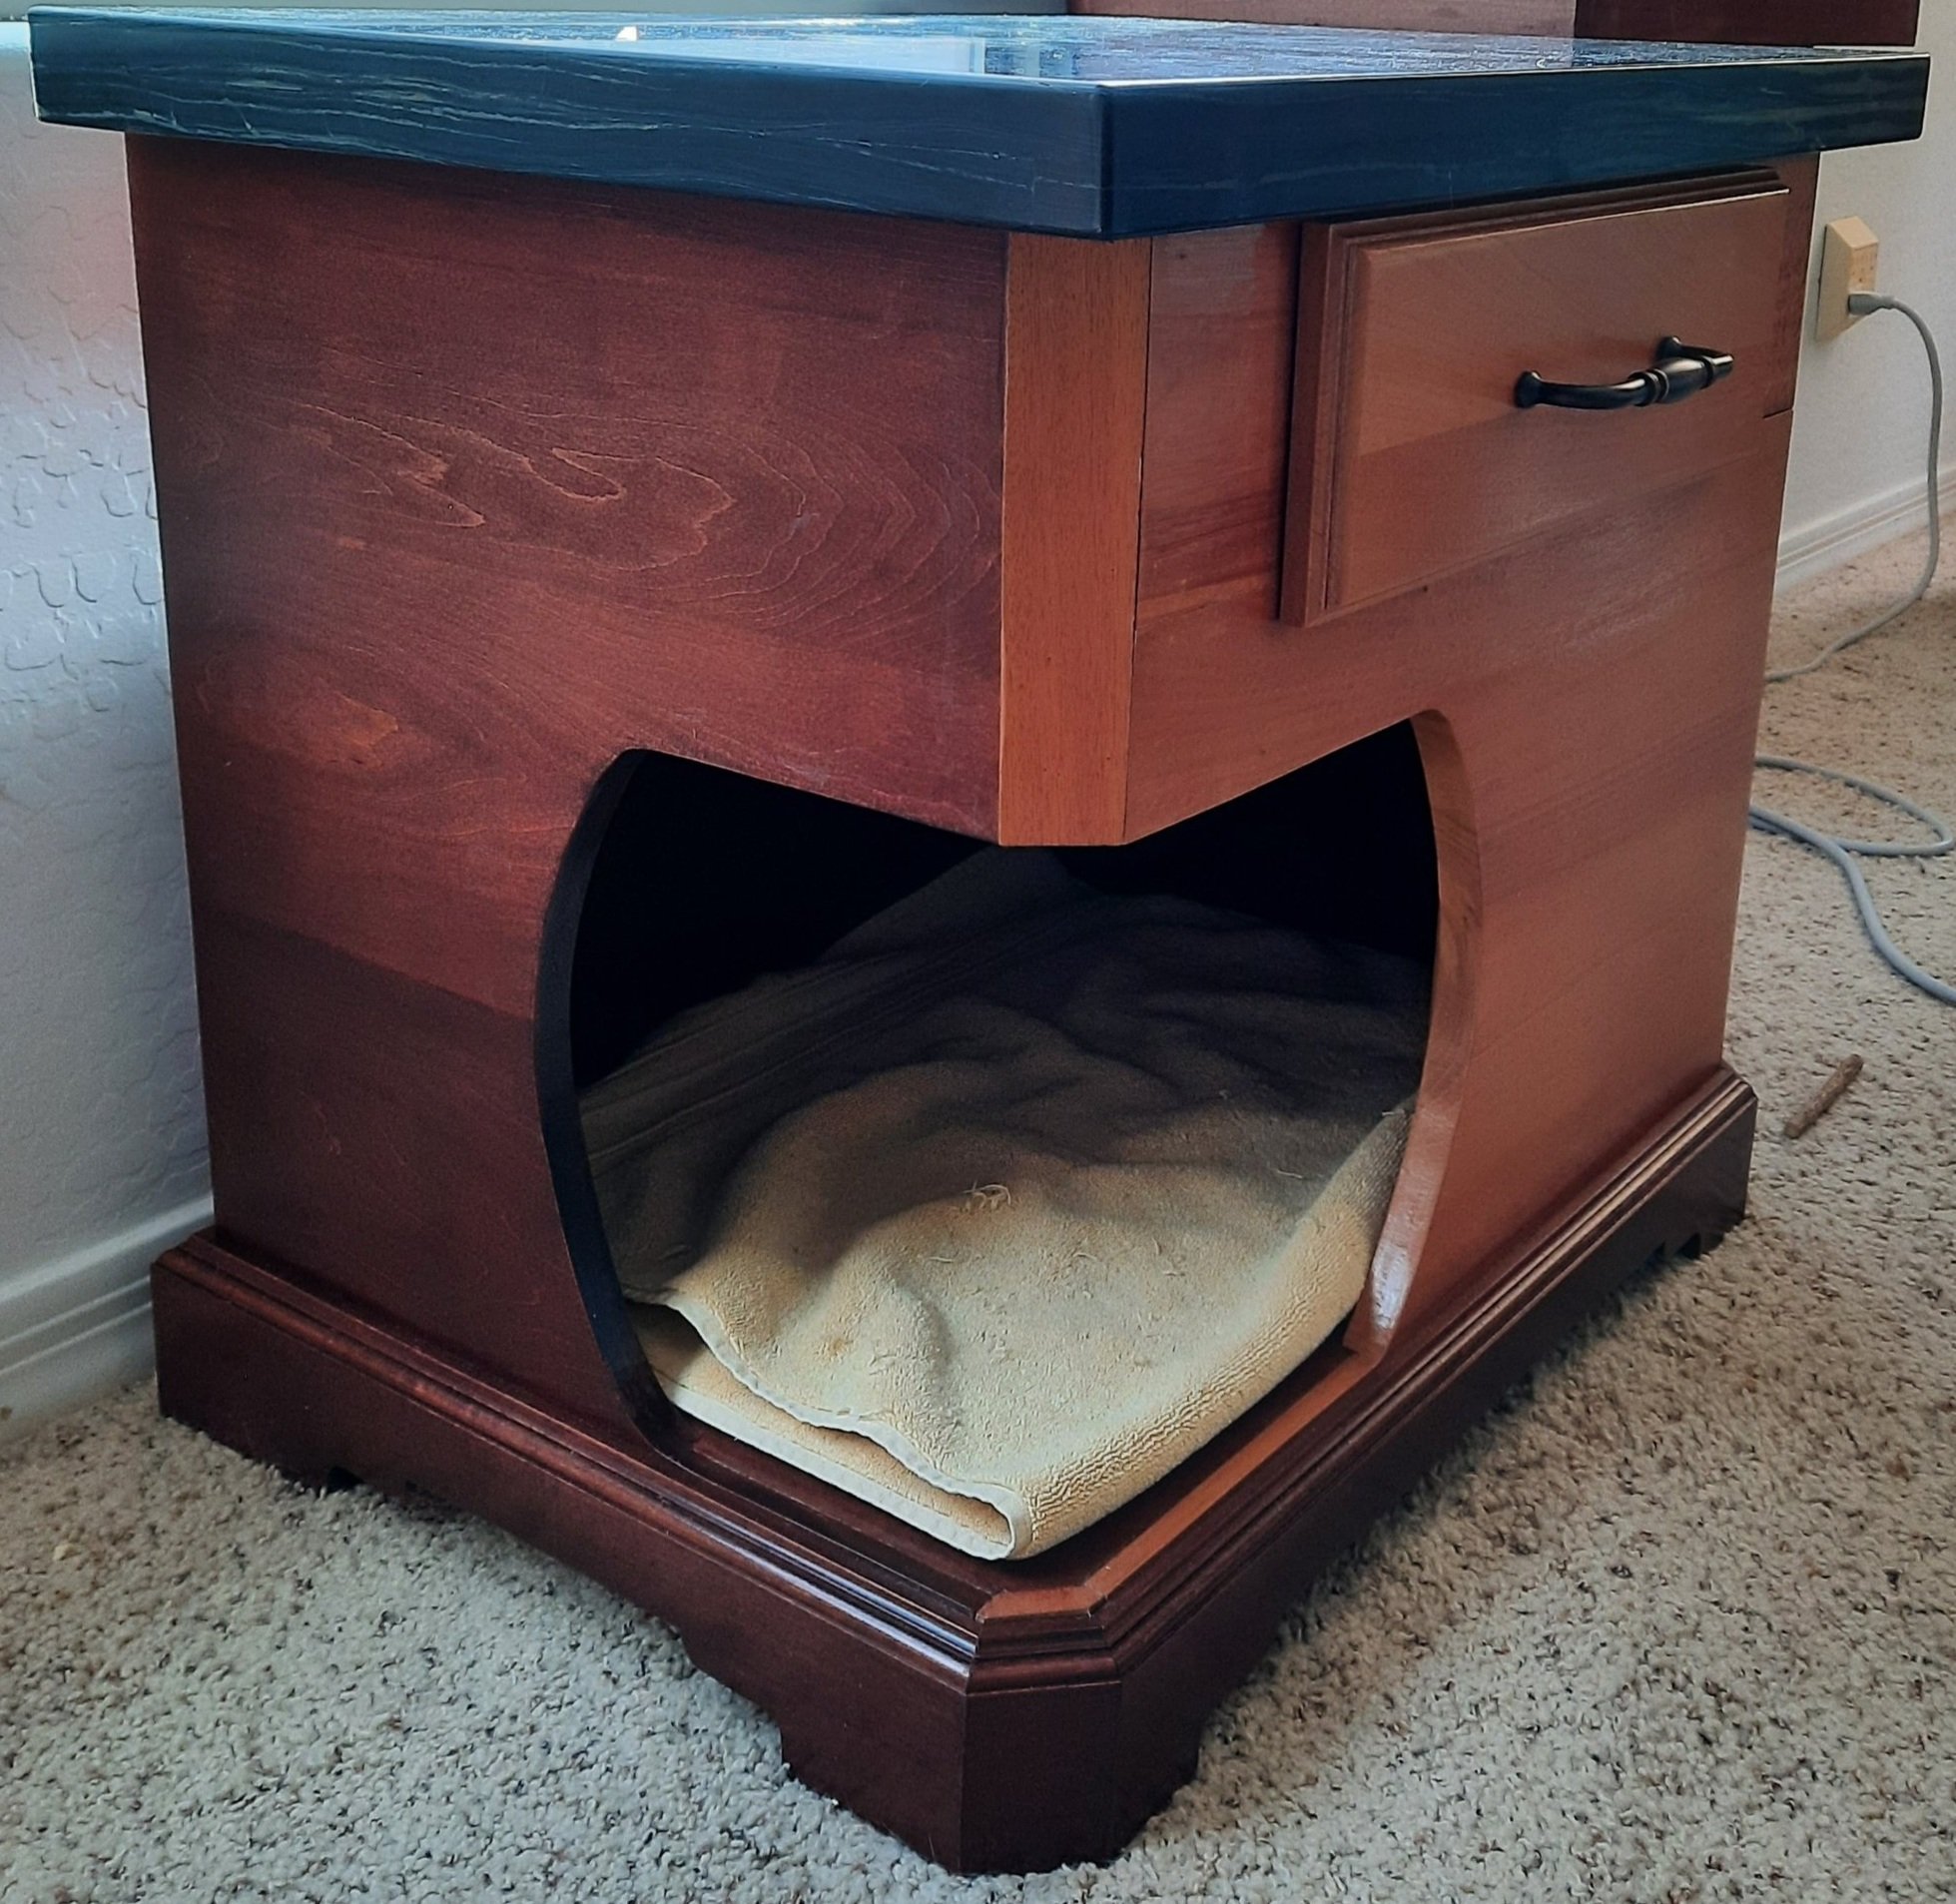
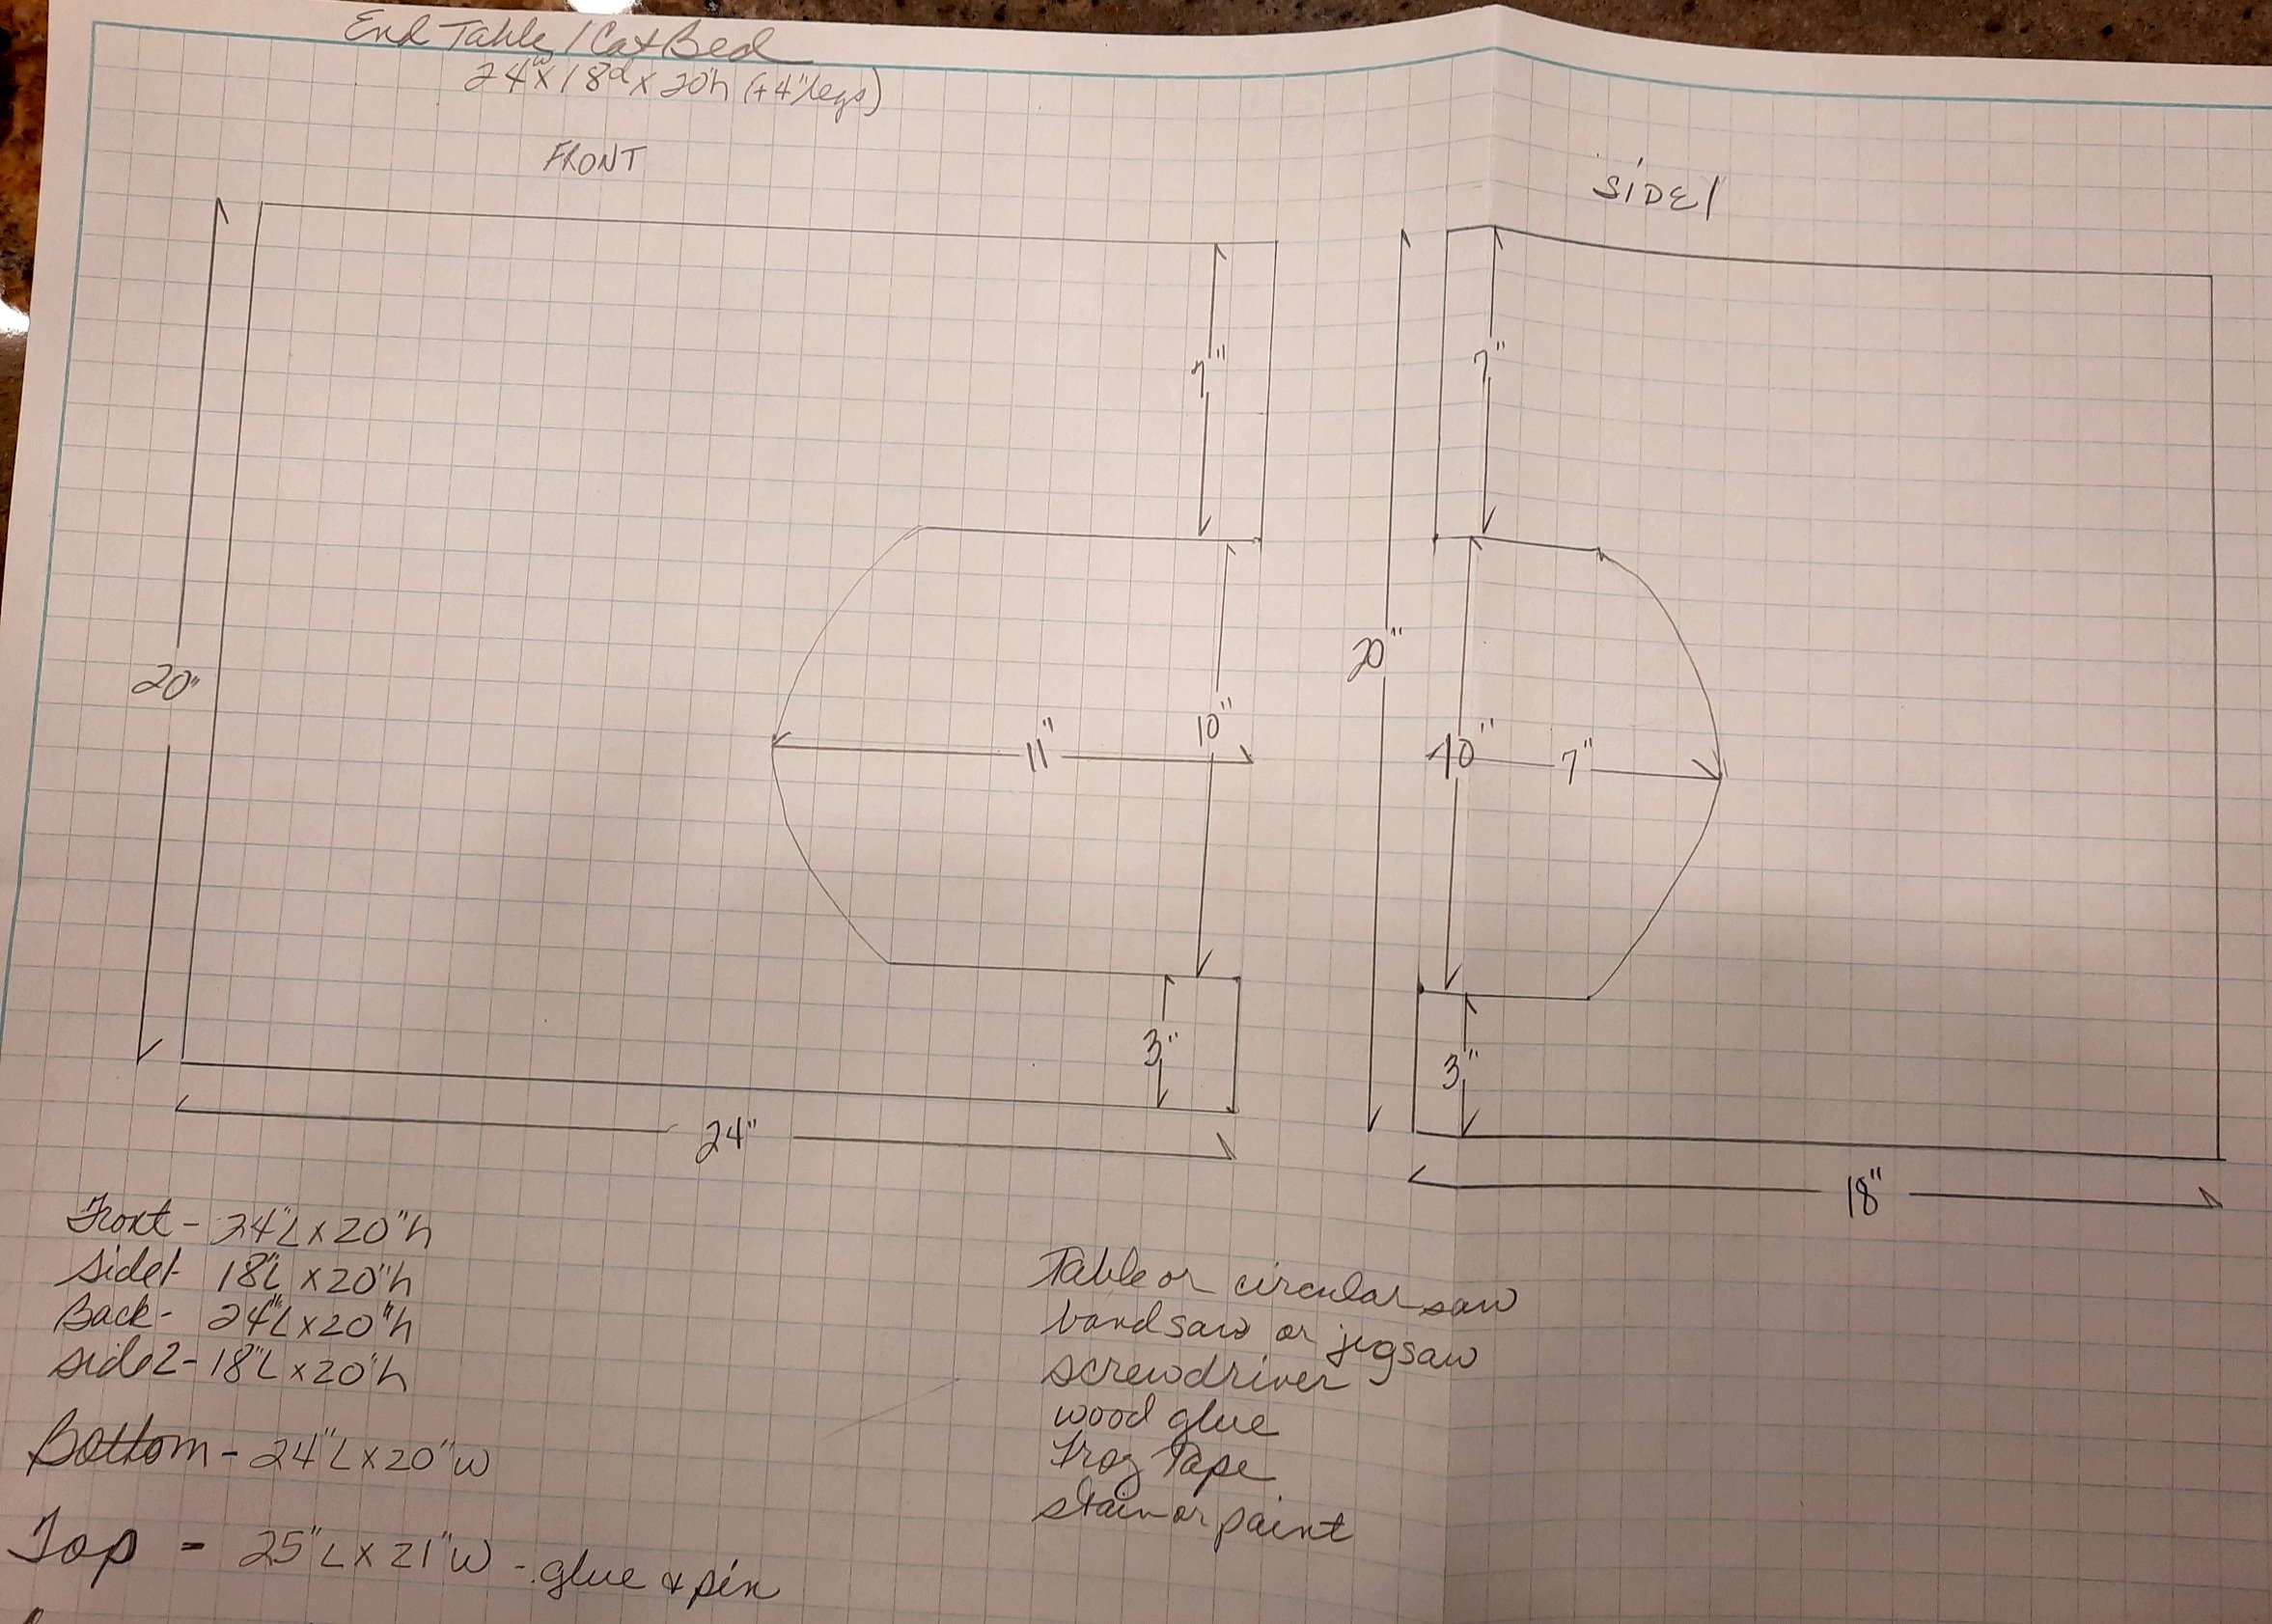
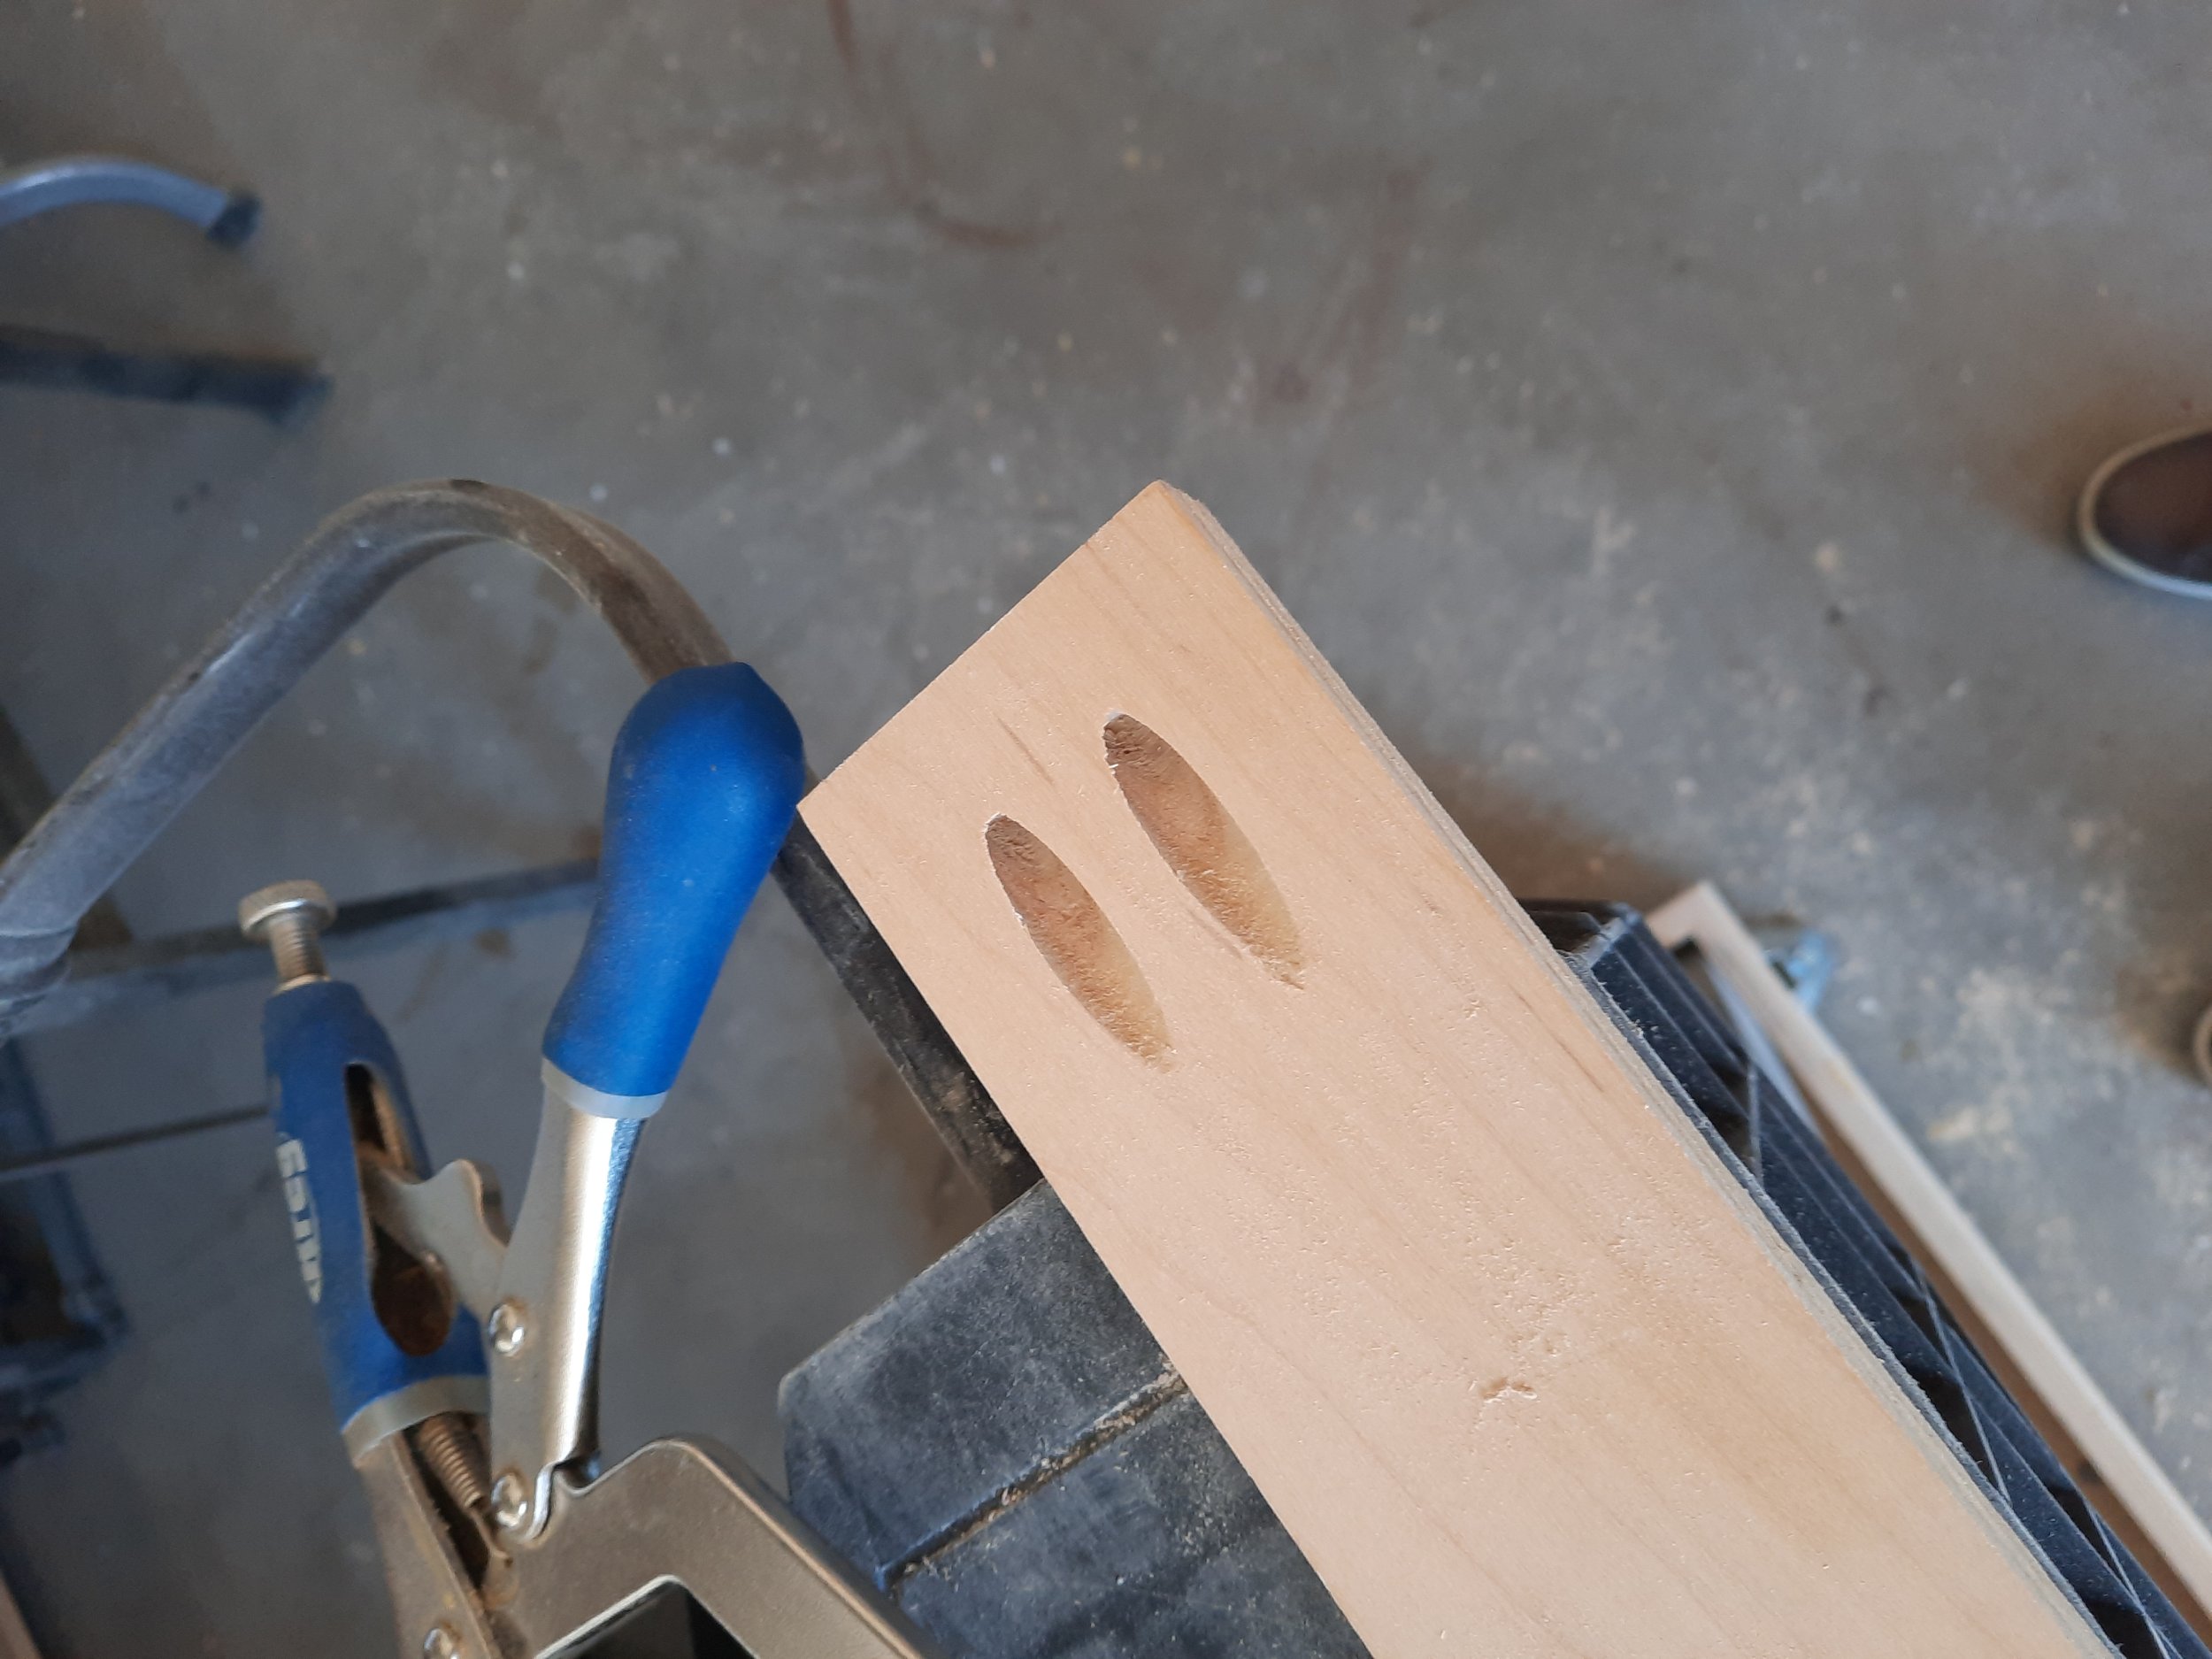
Start by determining which two pieces will be the front and side where you want the opening to be. Based on the size(s) of your cat(s), determine how tall the opening should be and the shape you want (elliptical, square, round, etc.). I made the opening in ours 11" tall, with the rounded part scribed as part of a circle, so when I laid the two pieces together flat, edge to edge, it appeared to be an elongated circle, with the front piece straight for 10" before the circle connects and the side piece straight for about 7". Measure 3" up from the Bottom of these two pieces so that there is some solid wood at the Bottom of the planned cut to help provide some structure as it is assembled, as well as for a bit of space to insert a towel or small padded bed inside when completed. (See line drawing plans)
Once you have drawn your cut lines, carefully cut just outside the lines with a jigsaw or band saw. You may sand these cuts smoothly by hand or with the orbital sander. The nice thing about Baltic Birch is that it is made from many layers of Birch, and exposed edges can look very nice when carefully sanded, even with a clear topcoat, as shown in the photo.

Next, taking your Top and Bottom pieces, you can carefully sand the exposed edges to be smooth, with a little round-over transition to the flat surface, or just sand and leave squared. Treat your Top piece as you did the Bottom, sanding the exposed edges into your preferred style. Determine where you want to position your purchased legs and mark those places on the "bottom" of the Bottom. We'll get back to those in a minute.
For this project using the Baltic Birch, I "butt" end the corners, joining them with glue and a pinner, or even better, pocket holes with screws (Kreg Pocket Hole jigs are super easy and very secure if you want to go that route, and they have great how-to videos on their website).
If you decide to use pocket holes and screws, make the pocket holes in the front and back of the two sides. Include at least two pocket holes above the entrance and one pocket hole below the entrance. The rule of thumb is at least one pocket hole every 5-6".
I'm going to have our Front and Back pieces extend the entire length of the cabinet (24") while adjusting the two side pieces down in width by 1-1/2" inches to 16-1/2" (cut this off of the BACK end of the side piece you've just carved the opening into!) Sand the exposed edges of the Front and Back smooth.
Complete your sanding using #150 grit with your orbital sander on both flat sides of all pieces. At this point, you should stain everything on all sides and your purchased legs. If you're painting, I'd suggest painting the INSIDE of everything before it's assembled. Once assembled, you can the exterior painting can be done.
Assembly
Dry-fit your Front, Back, and Sides to ensure everything lines up well with the Top and Bottom! Adjust as necessary.

Apply wood glue to both corner surfaces and insert the pocket screws; repeat for each corner.
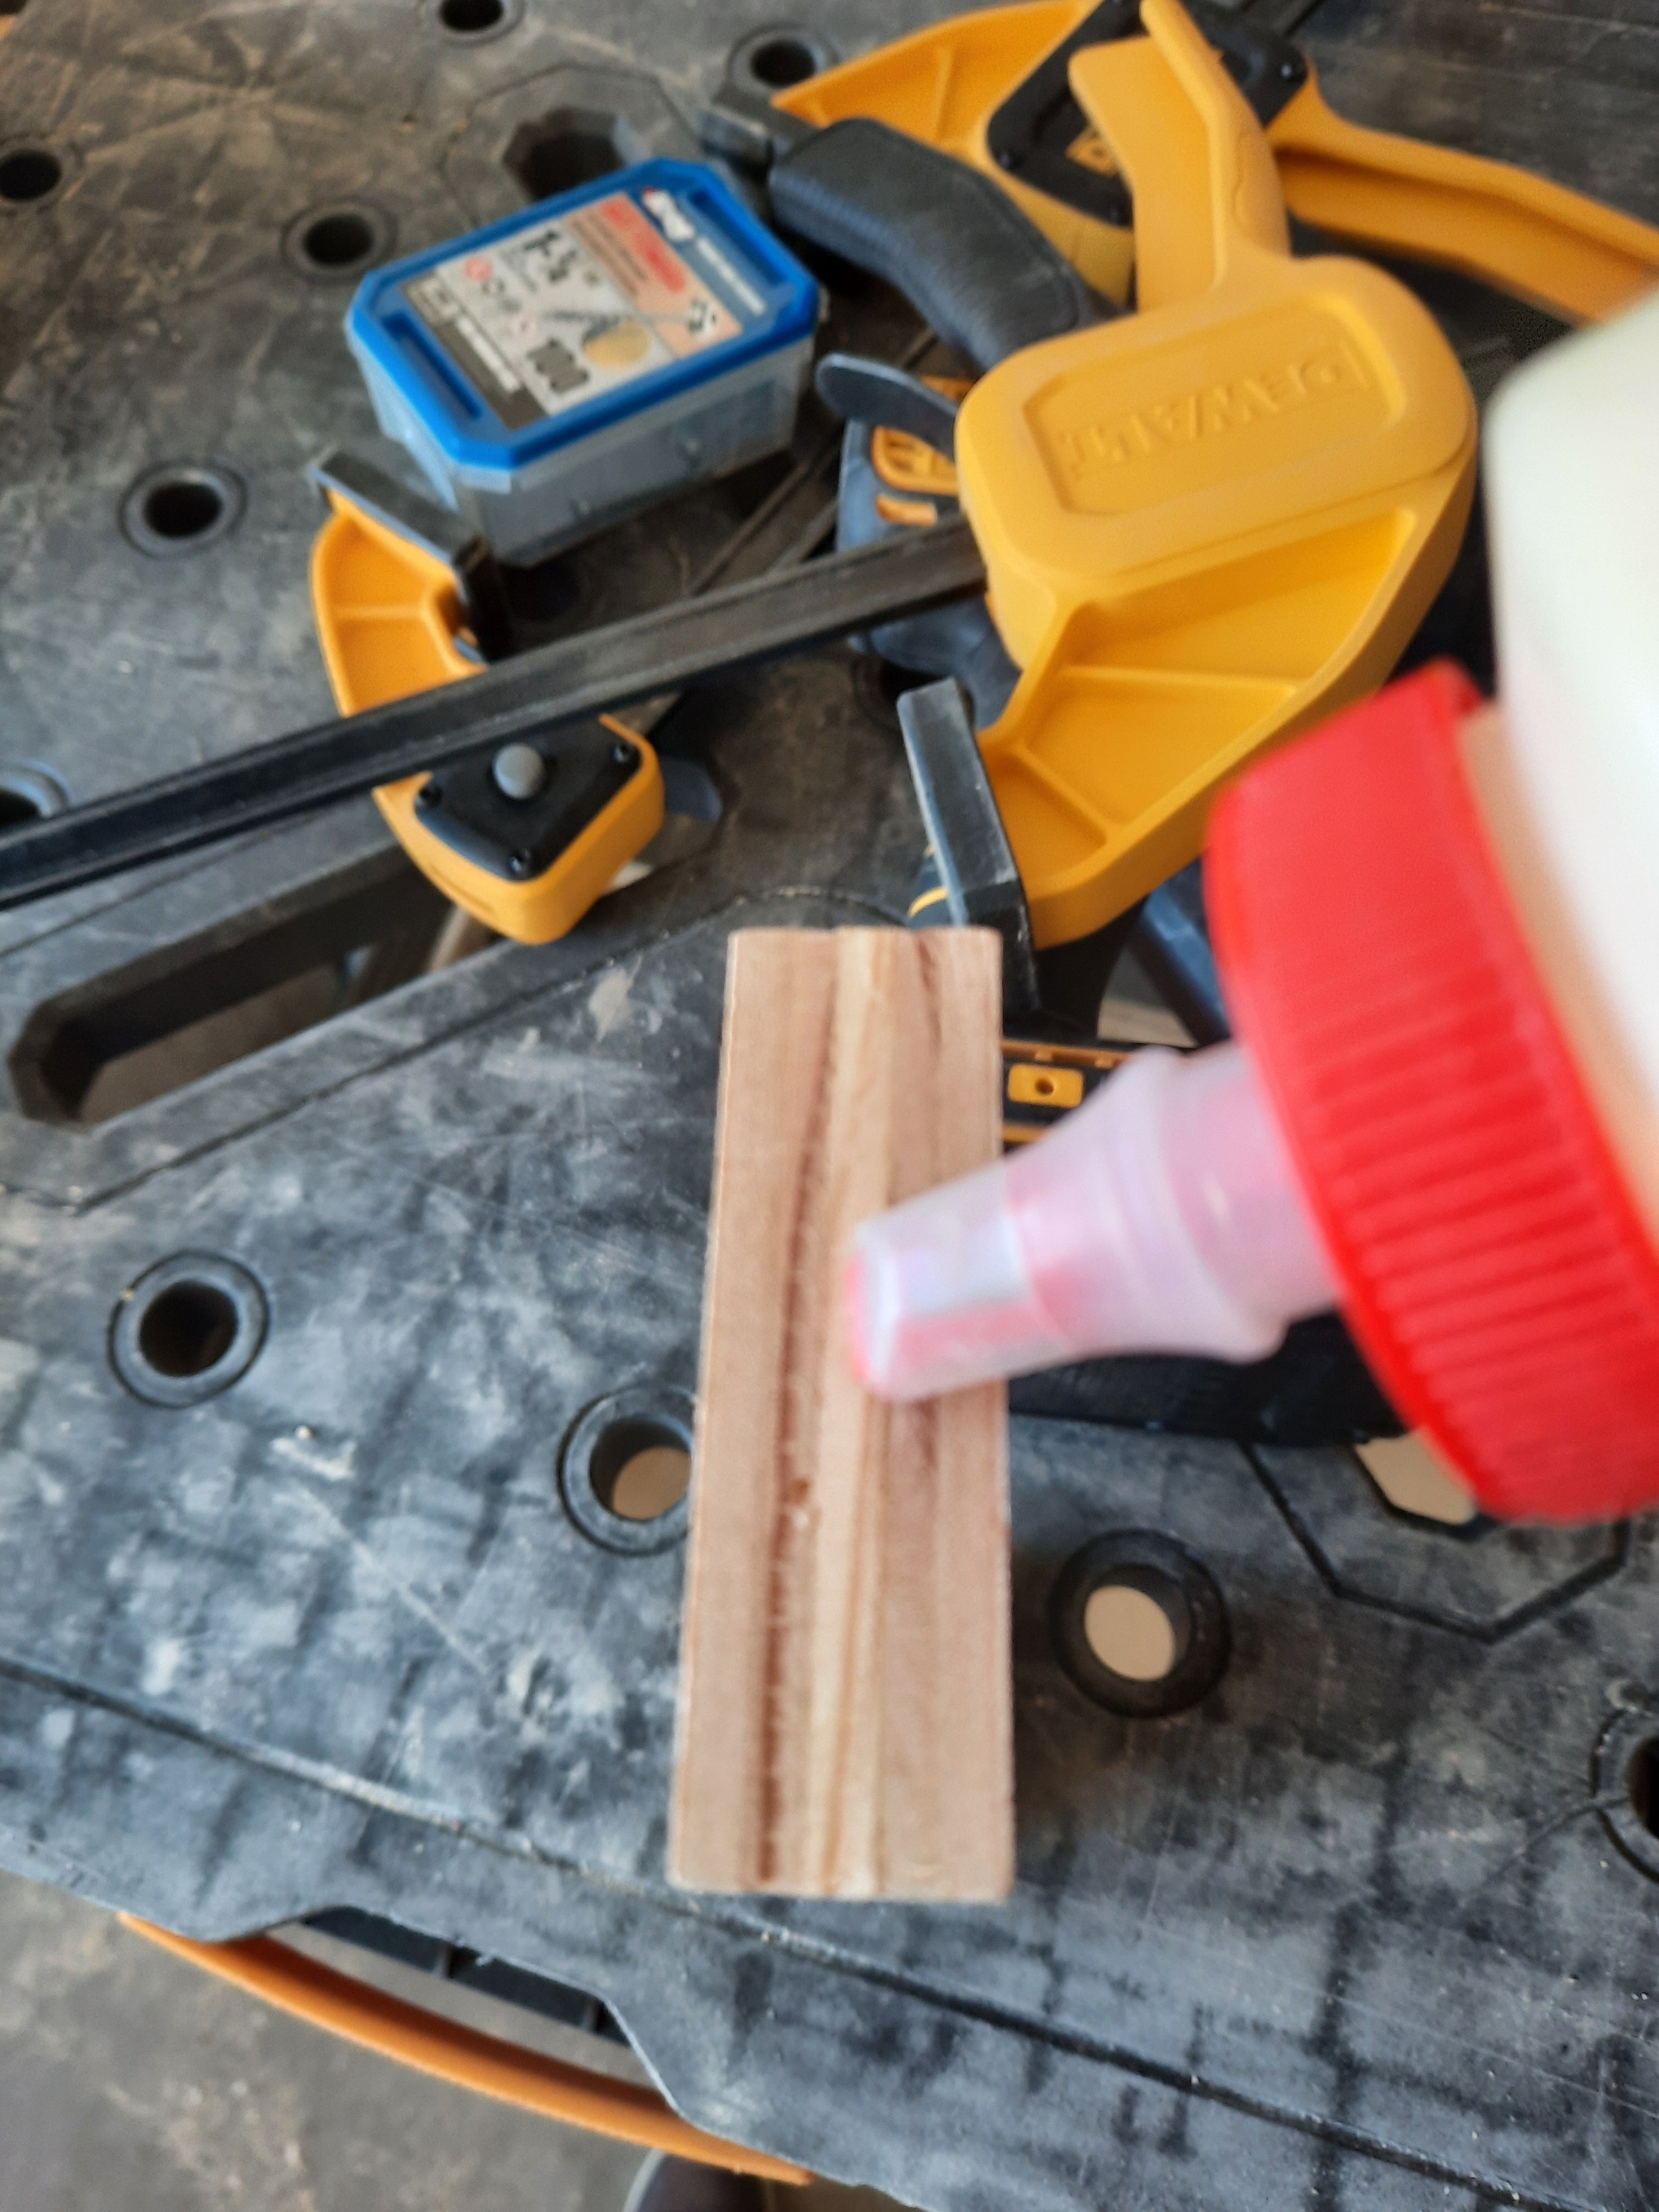
If you choose to use the pinner, apply wood glue to the corner surfaces as above, and insert pins from the outside. Allow the glue to set for at least 45 minutes. 23-gauge pins, at least 1-1/4" long, would be optimal for this application. Repeat for all corners.
On the "bottom" of the Bottom, make a line 3/8" from the edge on all four sides. On this line, you will want to drill pilot holes for your cabinet screws to attach the sides to the Bottom. At this time, also drill pilot holes for your method of attachment of the purchased legs.
Placing the cabinet box upside down, apply wood glue to the Bottom of all four edges; place the Bottom on the box, and insert cabinet screws to attach the Bottom to the box. Allow the glue to set for at least 45 minutes. Attach the purchased legs as preferred.
Turning the piece right side up, apply wood glue to the edges of the box and within the ¾" edges of the Top. Place the Top on the box and, ensuring it is properly aligned, use the pinner, once again, and I recommend 23 gauge, 1-1/4" long pins.
Paint the exterior, or apply a clear topcoat to all surfaces. Insert a towel or small bed inside and let your kitty enjoy!!!
